


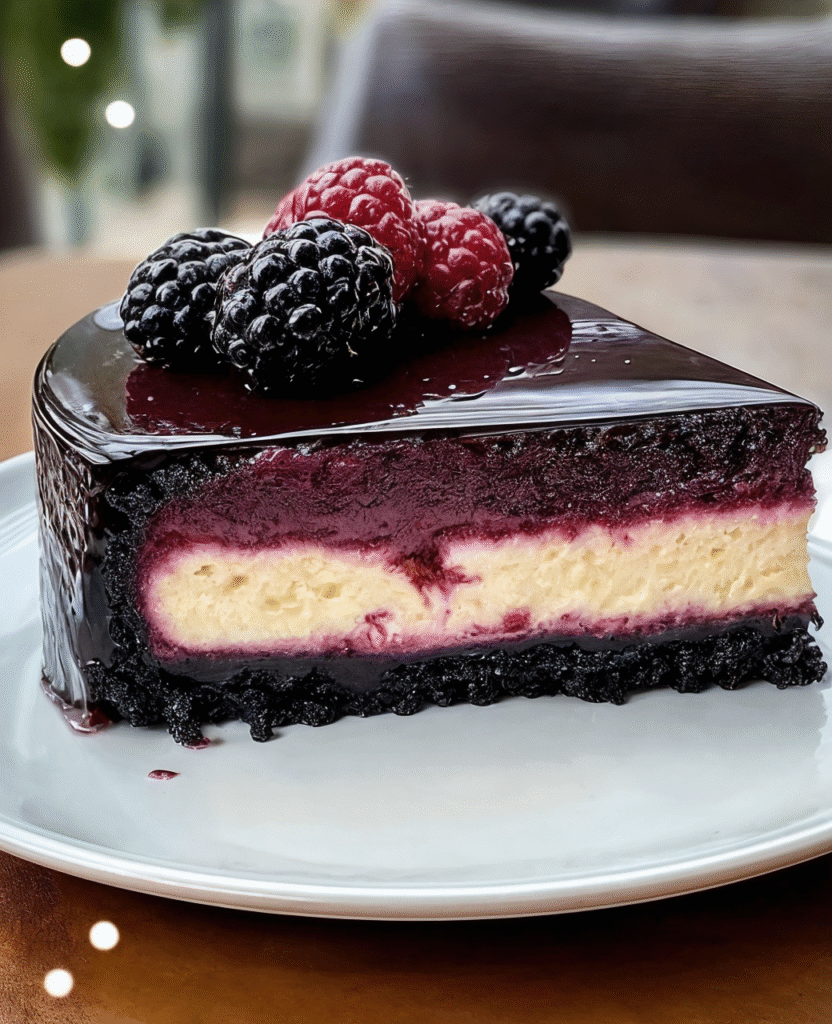
Looking for a dessert that delivers both drama and decadence? Look no further than this Blackberry Red Velvet Cheesecake—a rich, velvety fusion of classic cheesecake, luscious blackberry compote, and a red velvet cake crust that’s both eye-catching and irresistibly good.
This dessert isn’t just a treat; it’s a celebration on a plate. Whether you’re hosting a special dinner, attending a holiday gathering, or simply craving a stunning dessert to wow your family, this recipe checks all the boxes: visual appeal, complex flavor, and creamy perfection.
Why You’ll Love This Blackberry Red Velvet Cheesecake
This is a cheesecake with flair. It’s not just about a creamy texture and sweet-tart flavor—it’s about a sensory experience:
- The moist red velvet cake crust is a clever twist that makes this cheesecake stand out from the usual graham cracker base.
- The blackberry swirl and topping bring vibrant fruitiness and just the right amount of acidity to balance the richness of the cheesecake.
- With its deep magenta hues, it’s visually striking—perfect for Valentine’s Day, birthdays, or anniversaries.
- It’s make-ahead friendly, so you can prep it the night before for stress-free entertaining.
Ingredients Breakdown
For the Red Velvet Crust:
- 1 ½ cups crushed red velvet cake crumbs (fresh or from leftovers)
- 3 tbsp melted butter
For the Cheesecake Filling:
- 16 oz cream cheese, softened
- ½ cup granulated sugar
- 2 tbsp blackberry jam
- 1 tsp blackberry extract (optional but enhances flavor)
- 1 tsp lemon juice
- 1 tsp vanilla extract
- 2 eggs
- ¼ cup sour cream
- Red food coloring (optional, for extra color intensity)
For the Blackberry Topping:
- 1 cup fresh or frozen blackberries
- 2 tbsp sugar
- 1 tsp lemon juice
- 1 tsp cornstarch + 1 tbsp water (slurry for thickening)
Equipment Needed
- 9-inch springform pan
- Mixing bowls
- Electric mixer or hand mixer
- Rubber spatula
- Saucepan
- Mesh sieve (optional for smoother topping)
- Parchment paper
- Cooling rack
- Knife for slicing
How to Make Blackberry Red Velvet Cheesecake
Step 1: Prepare the Red Velvet Crust
- Preheat the oven to 325°F (163°C).
- Line the bottom of a springform pan with parchment paper.
- In a bowl, mix crushed red velvet cake crumbs with melted butter until combined.
- Press the mixture evenly into the bottom of the prepared pan.
- Bake for 10 minutes, then remove and allow to cool completely while you prepare the filling.
📝 Tip: Use leftover red velvet cupcakes or cake for the crumbs. Dry them slightly before pulsing in a food processor.
Step 2: Make the Cheesecake Filling
- In a large bowl, beat cream cheese until smooth and fluffy.
- Add granulated sugar, blackberry jam, blackberry extract, lemon juice, and vanilla extract. Mix until fully incorporated.
- Add the eggs one at a time, beating on low speed to avoid overmixing.
- Blend in the sour cream and a few drops of red food coloring if you want a richer tone.
- Pour the batter over the cooled crust and smooth the top.
Step 3: Bake the Cheesecake
- Bake in the preheated oven for 45–50 minutes, or until the center is set but still slightly jiggly.
- Turn off the oven, crack the door, and let the cheesecake sit inside for 30 minutes. This helps prevent cracks.
- Transfer to a wire rack and let cool to room temperature.
- Cover and chill for at least 4 hours—overnight is ideal for best texture and flavor.
Step 4: Make the Blackberry Topping
- In a small saucepan over medium heat, combine blackberries, sugar, and lemon juice.
- Simmer gently until the berries break down and release their juices.
- Stir in the cornstarch slurry and simmer for a minute or two until the sauce thickens.
- Allow to cool, then spread over the chilled cheesecake.
- Chill again briefly to set the topping before serving.
Serving Suggestions
Slice with a warm, damp knife for clean cuts. Serve this showpiece dessert:
- With a dollop of whipped cream
- Garnished with fresh blackberries or mint leaves
- Alongside a cup of espresso or glass of dessert wine like Moscato
Storing Leftovers
Refrigerator: Store covered in the fridge for up to 5 days.
Freezer: Freeze individual slices tightly wrapped for up to 2 months. Thaw overnight in the refrigerator.
Flavor Variations & Swaps
- Crust Swap: Use chocolate cookie crumbs or Oreo crumbs if you don’t have red velvet cake.
- Berry Change-Up: Swap blackberries for raspberries, blueberries, or a mixed berry combo.
- No Blackberry Extract? Just use extra jam or a bit of pureed blackberries.
- Mini Version: Make individual cheesecakes in muffin tins with cupcake liners—perfect for parties.
Frequently Asked Questions (FAQ)
Can I make this ahead of time?
Yes! This cheesecake is perfect for making 1–2 days in advance. Just add the topping before serving for a fresh finish.
What if I don’t have a springform pan?
You can use a deep pie dish or a cake pan lined with parchment, but removing the cheesecake will be trickier. A springform pan is recommended.
Can I use frozen blackberries?
Absolutely. Thaw and drain them before using to avoid excess moisture in the topping.
My cheesecake cracked—what went wrong?
Cracking can happen from overbaking or rapid temperature changes. Letting it cool gradually in the oven helps prevent this.
Final Thoughts + Call to Action
This Blackberry Red Velvet Cheesecake is more than just a dessert—it’s a visual and culinary masterpiece. From its rich, creamy filling to its vibrant berry topping and unique crust, it’s the kind of recipe that earns rave reviews and leaves people asking for seconds.
If you loved this recipe, be sure to share it with fellow dessert lovers, pin it for later, and subscribe to the blog for more elegant, irresistible sweets. Got your own twist or tip? Leave a comment below—I’d love to hear how it turned out!