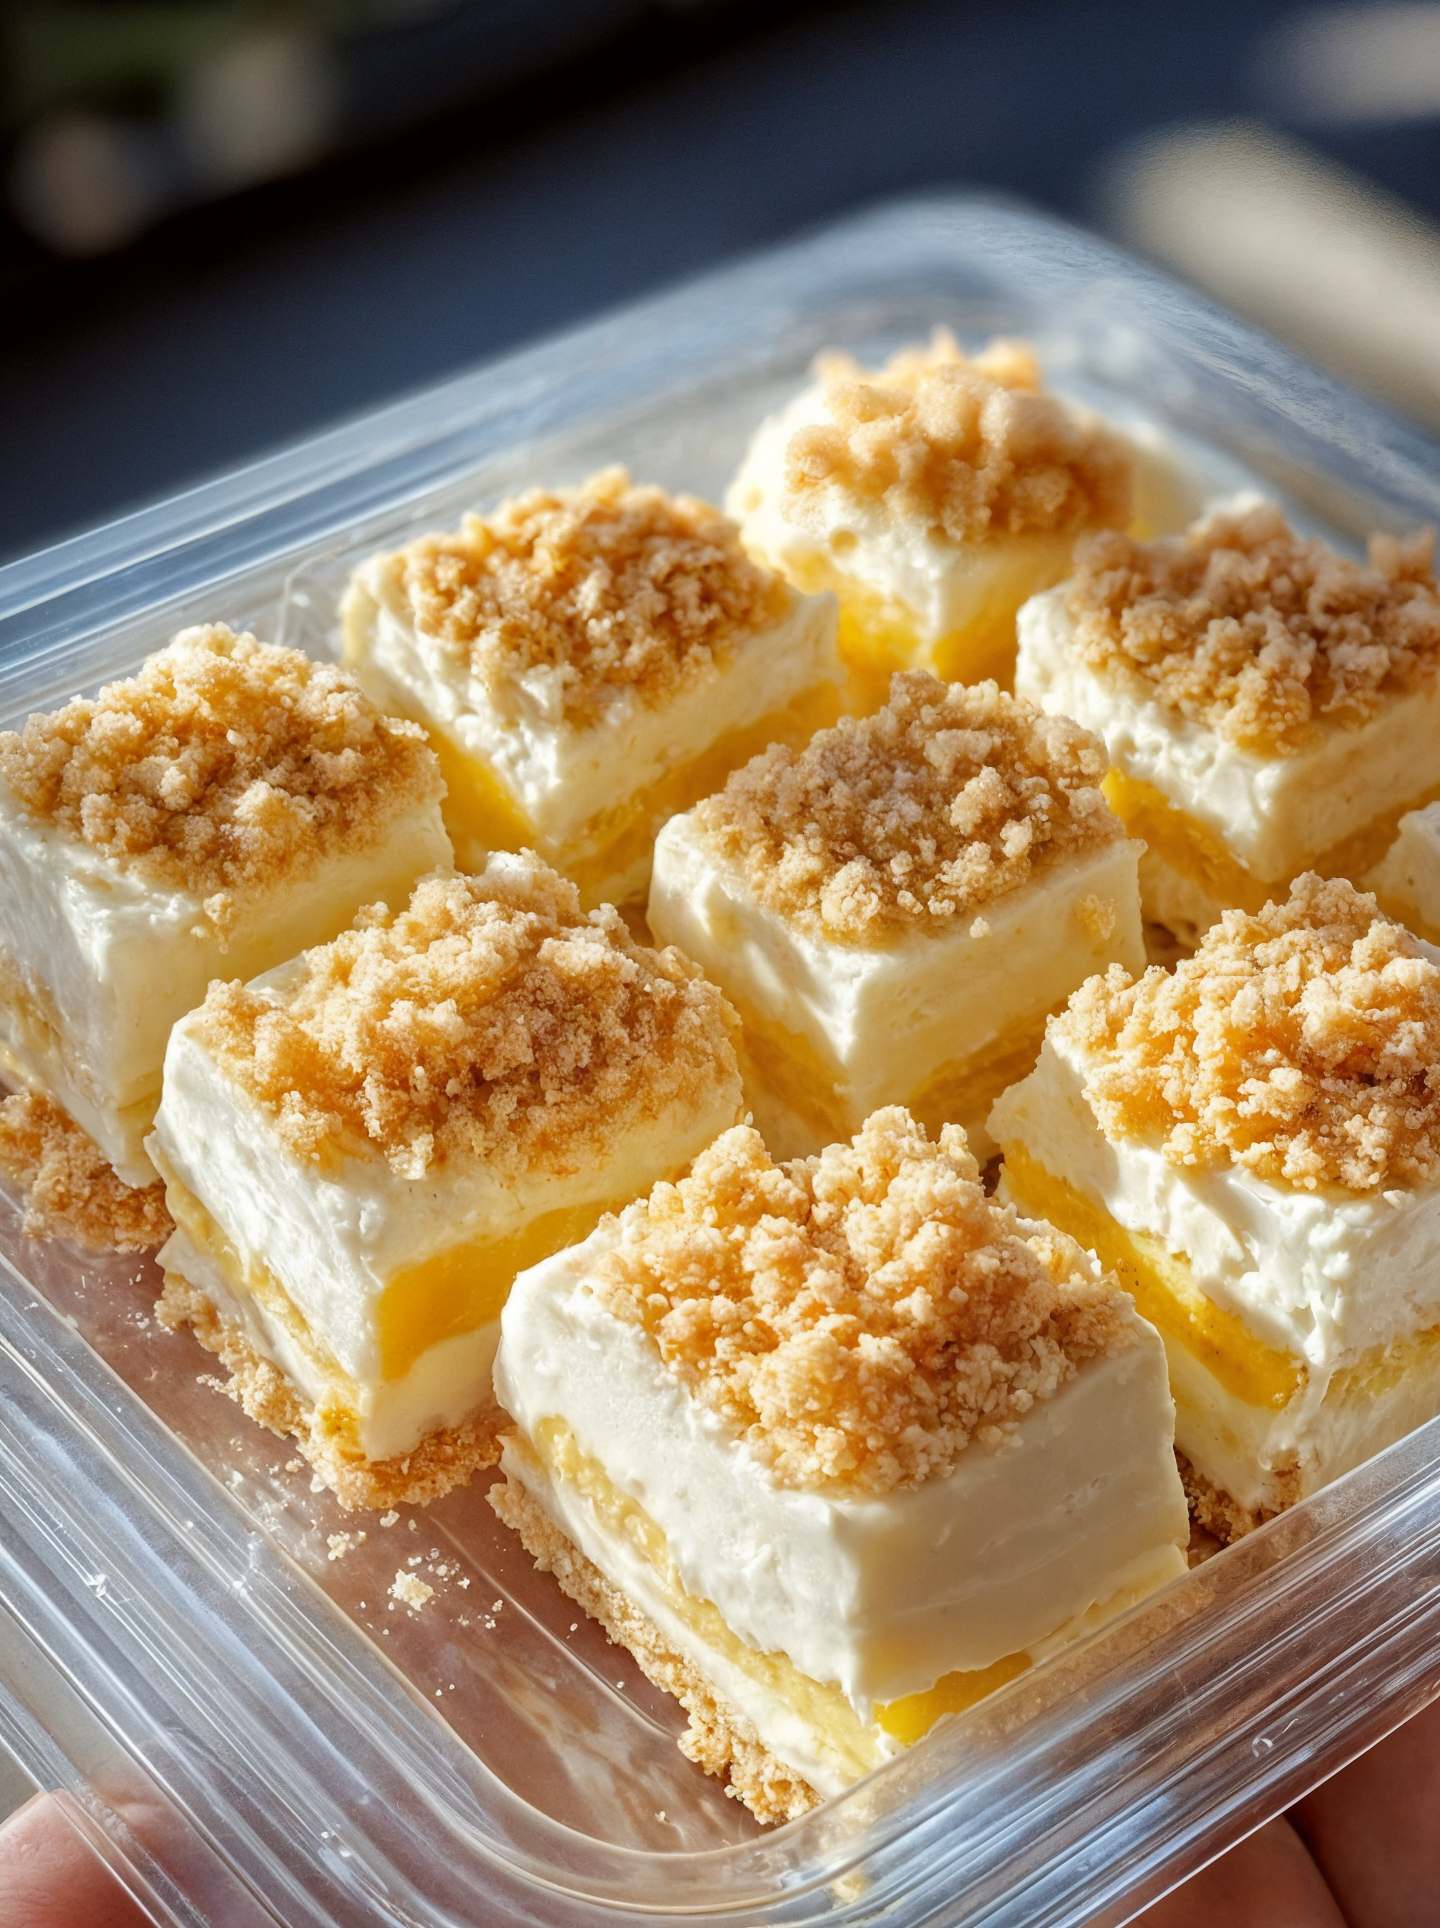
Creamy Cheesecake Banana Pudding Bites
Looking for a sweet, creamy, and ridiculously easy dessert that hits all the nostalgic notes of banana pudding but with an irresistible cheesecake twist? Look no further than these Creamy Cheesecake Banana Pudding Bites! This no-bake treat blends silky cream cheese, rich banana pudding, fresh banana slices, and the crunch of classic Nilla wafers—layered to perfection in individual portions. Ideal for potlucks, parties, or whenever your sweet tooth needs some serious Southern love.
Whether you’re entertaining a crowd or just need a quick weeknight dessert, these mini cheesecake banana pudding cups are a hit every single time.
Why You’ll Love These Banana Pudding Cheesecake Bites
🍌 No baking required: Minimal effort, maximum flavor.
🧁 Individual portions: Great for parties, BBQs, or grab-and-go indulgence.
🍦 Perfect texture: Creamy, fluffy, with a hint of crunch and fresh banana in every bite.
🎉 Crowd-pleaser: Kids and adults both devour these effortlessly.
⏱️ Quick prep: Just 15 minutes of active time, then chill and serve!
Ingredients You’ll Need
For the Cheesecake Filling:
2 cups cream cheese, softened
1 cup heavy cream
1/2 cup powdered sugar
1 tsp vanilla extract
1/4 cup milk
1 box (3.4 oz) banana pudding mix (instant)
For the Layers:
1 package Nilla wafers, crushed
2 ripe bananas, sliced
1/2 cup whipped cream (for topping)
Yield: 12 servings
Prep Time: 15 minutes
Chill Time: 2 hours
Total Time: 2 hours 15 minutes
Calories: Approximately 300 kcal per serving
How to Make Cheesecake Banana Pudding Bites
Step 1: Prepare the Cheesecake Filling
In a large mixing bowl, use an electric mixer to beat softened cream cheese, powdered sugar, and vanilla extract until completely smooth and creamy.
Slowly add the heavy cream and milk, beating until the mixture thickens and becomes fluffy.
Mix in the instant banana pudding mix, stirring until fully incorporated and the filling has thickened to a luscious, spoonable texture.
Step 2: Assemble the Layers
Grab your serving containers—mini dessert cups, jars, or small plastic containers work beautifully.
Start with a layer of crushed Nilla wafers at the bottom. Add a few banana slices over the crumbs.
Spoon a generous dollop of the cheesecake banana pudding mixture on top.
Repeat the process: Nilla wafers, banana slices, pudding. End with a final swirl of whipped cream on top.
Step 3: Chill and Serve
Refrigerate the assembled cups for at least 2 hours to allow the flavors to meld and the texture to set.
Serve chilled—and enjoy the creamy, crunchy, fruity perfection!
Equipment Needed
Mixing bowl
Electric mixer (hand or stand)
Measuring cups and spoons
Rubber spatula
Clear serving containers (plastic cups, jars, or glass bowls)
Spoon or piping bag for layering
Tips for Success
Use ripe bananas: Look for bananas with yellow peels and small brown spots for maximum flavor.
Softened cream cheese is key: Let it sit at room temperature for about 30 minutes before mixing to ensure a smooth texture.
Chill well: Don’t skip the refrigeration—it helps the pudding and cream cheese layers firm up and enhances the flavor.
Keep portions small: These bites are rich and satisfying, so small cups go a long way.
Layer carefully: Neat layers not only taste great but also look beautiful when served in clear cups.
Delicious Variations
🟡 Chocolate Banana Cheesecake Bites: Swap banana pudding for chocolate pudding for a chocoholic-friendly version.
🥥 Tropical Twist: Add crushed pineapple or shredded coconut between layers for a tropical vibe.
🍫 Oreo Crust Option: Use crushed Oreos instead of Nilla wafers for a cookies-and-cream twist.
🍓 Berry Surprise: Add a few chopped strawberries or raspberries to brighten the flavor.
🌰 Nutty Delight: Sprinkle chopped pecans or walnuts on top for crunch and depth.
Storage and Make-Ahead Tips
Make ahead: These can be made up to 24 hours in advance, making them a host’s dream.
Storage: Store covered in the refrigerator for up to 3 days.
Avoid browning bananas: Add a splash of lemon juice to banana slices before layering to slow down oxidation.
Freezing: Not recommended, as the texture of the cream and pudding may change.
What to Serve With Cheesecake Banana Pudding Bites
Sweet iced tea or cold brew coffee for a Southern classic pairing
Vanilla wafers or graham crackers on the side for extra crunch
Fresh fruit slices or berries to brighten the plate
Mini dessert spoons for the full individual-serving experience
These pair beautifully with BBQ mains, brunch spreads, or picnic baskets.
FAQs – Creamy Cheesecake Banana Pudding Bites
Can I make this recipe without pudding mix?
Yes, but you’ll need to compensate with mashed ripe banana and extra cornstarch or gelatin to stabilize the filling.
Can I use Cool Whip instead of whipped cream?
Absolutely! Cool Whip can be used both in the filling (in place of heavy cream) and as a topping.
Do I need to refrigerate leftovers?
Yes. Keep them chilled and consume within 2–3 days.
Can I make this in a large trifle dish?
Yes! Just follow the same layering process in a single large bowl instead of individual cups.
What if I don’t have banana pudding mix?
Vanilla pudding with mashed bananas can be a close substitute. Add a drop or two of banana extract if you like.
Final Thoughts + Call to Action
These Creamy Cheesecake Banana Pudding Bites are everything you want in a no-bake dessert: easy, quick, indulgent, and full of flavor. They’re perfect for entertaining or satisfying a weeknight sweet tooth. Creamy, fruity, and finished with that irresistible Nilla wafer crunch—what’s not to love?
If you enjoyed this recipe, be sure to share it with your fellow dessert lovers, pin it for later, and subscribe to the blog for more quick, crowd-pleasing treats and no-bake favorites.
Your next sweet obsession starts here. 🍌🥄💛