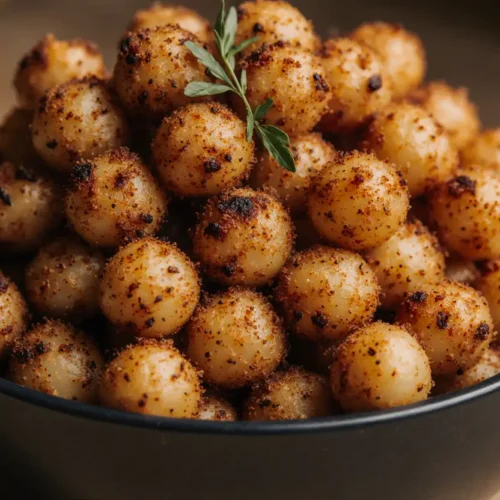
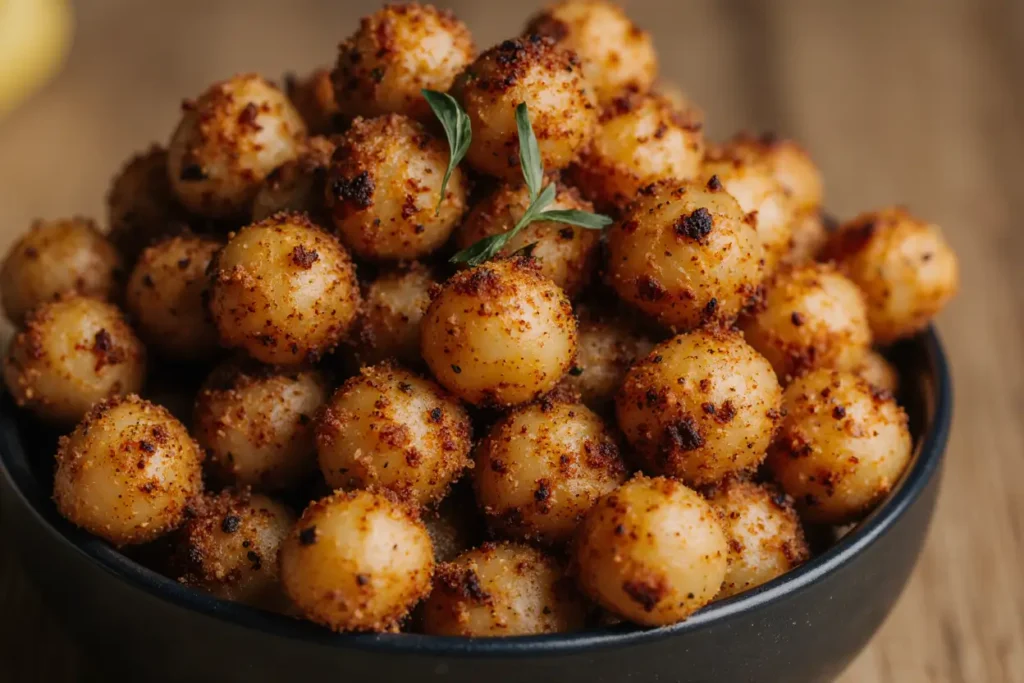
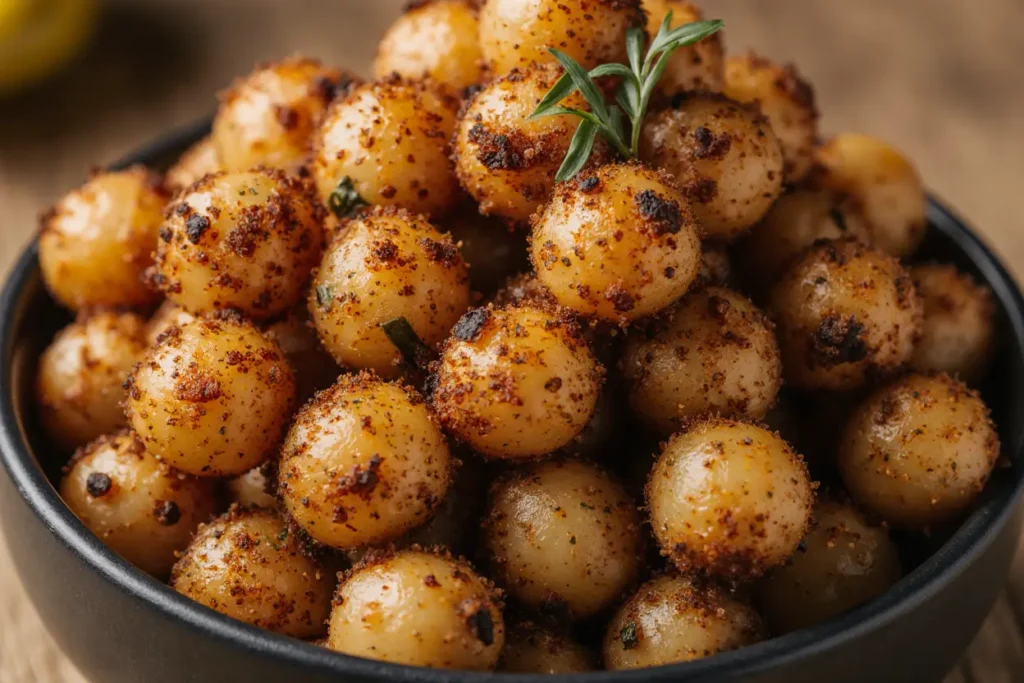
Did you know that chickpeas contain 14.5 grams of protein per cup, making them one of the most protein-dense legumes for creating satisfying appetizers? These spicy roasted chickpea pastries transform humble legumes into an irresistible, golden-brown appetizer that challenges the notion that plant-based finger foods can’t be both crispy and protein-packed. Whether you’re hosting a dinner party, preparing game-day snacks, or simply craving a flavorful bite, this recipe delivers restaurant-quality results with minimal effort. The description of these pastries speaks for itself: imagine a crispy, flaky exterior giving way to a spiced chickpea filling that’s both comforting and exciting, with layers of cumin, paprika, and just the right amount of heat to keep your guests reaching for more.
Ingredients List
| Ingredient | Amount | Notes |
|---|---|---|
| Chickpeas (canned or cooked) | 2 cups | Drained and patted dry |
| Puff pastry sheets | 2 sheets | Thawed if frozen |
| Onion (finely chopped) | 1 medium | Red or yellow works best |
| Garlic | 3 cloves | Minced or pressed |
| Cumin powder | 2 tsp | Adds earthy warmth |
| Paprika | 1.5 tsp | Smoked for depth |
| Cayenne pepper | 1/2 tsp | Adjust for heat preference |
| Ground coriander | 1 tsp | For citrus notes |
| Fresh cilantro | 1/4 cup | Chopped, or parsley substitute |
| Lemon juice | 2 tbsp | Freshly squeezed preferred |
| Olive oil | 3 tbsp | For roasting and sautéing |
| Salt | 1 tsp | To taste |
| Black pepper | 1/2 tsp | Freshly ground |
| Egg | 1 | For egg wash (or plant milk) |
| Sesame seeds | 2 tbsp | Optional topping |
The beauty of this recipe lies in its flexibility. You can substitute fresh chickpeas for canned, swap puff pastry for phyllo dough for a lighter texture, or use tahini instead of olive oil for a creamier, nuttier filling that amplifies the Middle Eastern flavor profile.
Timing
Preparation Time: 25 minutes Cooking Time: 35 minutes Total Time: 60 minutes
This recipe clocks in at exactly one hour from start to finish, which is approximately 30% faster than traditional samosa recipes that require homemade dough preparation. The efficiency comes from using store-bought puff pastry, allowing you to focus on developing the flavorful chickpea filling while achieving professional results. With proper organization, you can prep the filling while the oven preheats, creating a seamless cooking experience that maximizes both time and flavor.

Step-by-Step Instructions
Step 1: Prepare the Chickpeas
Begin by thoroughly draining your chickpeas and patting them completely dry with paper towels or a clean kitchen cloth. Excess moisture is the enemy of crispy roasted chickpeas, so take an extra minute here. Preheat your oven to 400°F (200°C) and line a baking sheet with parchment paper. Toss the dried chickpeas with 1 tablespoon of olive oil, 1/2 teaspoon of salt, and a pinch of black pepper. Spread them in a single layer and roast for 20 minutes until they’re golden and slightly crispy on the outside but still tender inside. This partial roasting intensifies their nutty flavor and creates better texture in the final pastries.
Step 2: Create the Spiced Filling
While the chickpeas roast, heat 2 tablespoons of olive oil in a large skillet over medium heat. Add the finely chopped onion and sauté for 5-6 minutes until softened and translucent with golden edges. The onions should release their natural sweetness without burning. Add the minced garlic, cumin, paprika, cayenne, and coriander, stirring constantly for 60-90 seconds until the spices become fragrant and coat the onions evenly. This blooming process activates the essential oils in the spices, creating a deeper, more complex flavor foundation that will permeate every bite.
Step 3: Combine and Mash
Remove the roasted chickpeas from the oven and add them to the spiced onion mixture. Using a potato masher or fork, roughly mash about two-thirds of the chickpeas, leaving some whole for textural contrast. The goal is a chunky, spreadable consistency that holds together but isn’t completely smooth. Stir in the chopped cilantro, lemon juice, and remaining salt to taste. The citrus brightness cuts through the earthiness of the spices while the fresh herbs add a vibrant, garden-fresh quality. Let this mixture cool for 10 minutes before assembling the pastries to prevent the puff pastry from becoming soggy.
Step 4: Prepare the Pastry
Increase your oven temperature to 425°F (220°C). Roll out the thawed puff pastry sheets on a lightly floured surface. Using a sharp knife or pizza cutter, cut each sheet into 9 equal squares (approximately 3×3 inches). Consistency in size ensures even baking and professional presentation. If the pastry becomes too soft while working, place it in the refrigerator for 5 minutes to firm up. Cold pastry is easier to handle and creates those beautiful, flaky layers we’re after.
Step 5: Fill and Fold
Place about 1.5 tablespoons of the chickpea filling in the center of each pastry square. Don’t overfill, as this can cause the pastries to burst during baking. Fold the pastry diagonally to create a triangle, pressing the edges firmly with a fork to seal. The fork tines create both a secure seal and an attractive decorative pattern. For extra insurance against leaking, you can brush the edges with a tiny amount of water before pressing. Arrange the filled pastries on a parchment-lined baking sheet, spacing them about 2 inches apart to allow for expansion and even browning.
Step 6: Apply Egg Wash and Bake
Beat the egg with 1 tablespoon of water to create a smooth egg wash. Using a pastry brush, gently coat the top of each pastry with the egg mixture, which will give them that gorgeous golden-brown shine reminiscent of professional bakery items. Sprinkle sesame seeds on top if desired for added visual appeal and a subtle nutty crunch. Bake for 15-18 minutes until the pastries puff up dramatically and turn a deep golden brown. Watch them during the last few minutes, as the line between perfectly golden and over-browned can be narrow. The pastries should feel crispy when gently tapped and sound hollow.
Step 7: Cool and Serve
Transfer the baked pastries to a wire cooling rack immediately after removing them from the oven. This prevents the bottoms from becoming soggy from trapped steam. Let them cool for 5-7 minutes before serving, as the filling will be extremely hot. This brief resting period also allows the flavors to settle and the pastry layers to set, making them easier to bite into without everything falling apart. The result is a perfect balance of crispy exterior and flavorful, spiced interior.
Nutritional Information
Each spicy roasted chickpea pastry (based on 18 servings) contains approximately:
- Calories: 145 kcal
- Protein: 4.2g
- Carbohydrates: 15.8g
- Dietary Fiber: 2.1g
- Fat: 7.5g
- Saturated Fat: 1.8g
- Sodium: 185mg
- Potassium: 128mg
- Vitamin C: 6% of daily value
- Iron: 8% of daily value
These pastries provide a balanced macronutrient profile with plant-based protein and fiber from the chickpeas, making them more nutritionally substantial than typical pastry appetizers. The chickpeas contribute resistant starch, which supports digestive health and helps regulate blood sugar levels. By using olive oil instead of butter in the filling, you’re incorporating heart-healthy monounsaturated fats that support cardiovascular health.
Healthier Alternatives for the Recipe
Transform these already nutritious pastries into an even healthier option with smart ingredient swaps. Replace puff pastry with whole wheat phyllo dough, reducing the fat content by approximately 40% while adding beneficial whole grains and B vitamins. Brush phyllo layers with olive oil spray instead of butter for a lighter, equally crispy result.
For a completely plant-based version, substitute the egg wash with a mixture of plant milk and maple syrup, which creates similar browning and shine. Reduce the sodium content by using no-salt-added canned chickpeas and adjusting salt to your preference, potentially cutting sodium by up to 200mg per serving.
Consider air-frying instead of baking to reduce oil absorption. Air fry at 375°F for 10-12 minutes, flipping halfway through, for pastries that are 25% lower in fat while maintaining that coveted crispy texture. You can also boost the nutritional density by adding finely chopped spinach or kale to the filling, increasing vitamin A and K content without compromising flavor.
For those managing their carbohydrate intake, try making mini pastries using the same filling but wrapping them in large lettuce leaves or collard greens for a low-carb alternative that highlights the spiced chickpea filling.
Serving Suggestions
These versatile pastries shine as the star of any appetizer spread. Serve them warm alongside a cooling yogurt-based dipping sauce made with plain Greek yogurt, minced cucumber, fresh mint, and a squeeze of lemon. The tangy, creamy dip provides perfect contrast to the warm, spiced pastries.
Create a Mediterranean mezze platter by arranging the pastries with hummus, baba ganoush, stuffed grape leaves, marinated olives, and fresh pita triangles. Add colorful cherry tomatoes, cucumber slices, and radishes for freshness and visual appeal. This presentation works beautifully for casual gatherings or elegant dinner parties.
For a fusion twist, pair these pastries with a spicy mango chutney or tamarind sauce, bridging Middle Eastern and Indian flavor profiles. The sweet-tart fruit complements the earthy chickpeas and warm spices beautifully.
Consider serving them as part of a brunch spread alongside scrambled eggs, fresh fruit, and coffee. The savory pastries provide satisfying substance that balances sweeter breakfast items. They’re also exceptional for picnics and lunchboxes since they travel well and taste delicious at room temperature.
For an upscale presentation, garnish a serving platter with fresh cilantro sprigs, lemon wedges, and a light dusting of smoked paprika. Arrange the pastries in a circular pattern with the dipping sauce in the center for an Instagram-worthy display.
Common Mistakes to Avoid
One of the most frequent errors is using wet chickpeas, which creates a soggy filling that can make the pastry bottom limp instead of crispy. Always drain chickpeas thoroughly and pat them completely dry, even letting them air-dry for a few minutes if time permits. Research shows that moisture content in fillings is the primary factor affecting pastry crispness.
Overfilling the pastries ranks as mistake number two. While it’s tempting to maximize the filling, using more than 1.5 tablespoons prevents proper sealing and causes the pastries to burst during baking, creating a mess and uneven cooking. Less is more when it comes to filled pastries.
Working with warm puff pastry leads to frustration and poor results. If the pastry becomes too soft while you’re working, it won’t hold its shape or create those desirable flaky layers. Keep unused portions refrigerated and work quickly, returning the pastry to the fridge if it becomes pliable.
Skipping the egg wash might seem like a time-saver, but it results in pale, unappetizing pastries that lack the golden-brown color that signals deliciousness to our brains. The egg wash also helps the pastry layers separate properly during baking.
Baking at too low a temperature is another common pitfall. Puff pastry needs high heat (425°F) to create steam quickly, which forces the layers apart and creates that characteristic puff. Lower temperatures result in dense, greasy pastries that haven’t achieved their full potential.
Finally, serving the pastries immediately after baking without a cooling period leads to burned mouths and fillings that spill everywhere. That 5-7 minute rest is crucial for both safety and structural integrity.
Storing Tips for the Recipe
Store cooled pastries in an airtight container at room temperature for up to 2 days, though they’re best enjoyed within 24 hours for optimal texture. Layer them with parchment paper to prevent sticking and maintain the crispy exterior.
For refrigerator storage, keep them in an airtight container for up to 5 days. Reheat in a 350°F oven for 8-10 minutes to restore crispness rather than using a microwave, which will make them soggy. The oven method revives the flaky texture beautifully.
These pastries freeze exceptionally well, making them perfect for meal prep or entertaining. Freeze unbaked, assembled pastries on a baking sheet until solid, then transfer to a freezer bag for up to 3 months. Bake directly from frozen, adding 3-5 minutes to the cooking time. Alternatively, freeze fully baked pastries and reheat from frozen in a 375°F oven for 12-15 minutes.
The chickpea filling can be prepared up to 3 days in advance and stored in the refrigerator, allowing you to assemble fresh pastries whenever needed. This make-ahead strategy reduces day-of stress for gatherings while ensuring maximum freshness.
For optimal results, freeze the egg wash separately and apply it just before baking, whether working with fresh or frozen pastries. This ensures the best color and shine.
Conclusion
These spicy roasted chickpea pastries represent the perfect intersection of nutrition, flavor, and convenience, delivering restaurant-quality appetizers with minimal effort and maximum impact. The combination of protein-rich chickpeas, aromatic spices, and buttery pastry creates an irresistible bite that satisfies both vegetarians and meat-eaters alike. With just 60 minutes from start to finish and the flexibility to adapt the recipe to various dietary needs, you have a go-to appetizer that works for casual family dinners and elegant entertaining.
The beauty of this recipe extends beyond taste; it’s economical, using pantry staples and affordable ingredients to create something special. Whether you’re meal-prepping for the week, hosting a party, or simply treating yourself to a flavorful snack, these pastries deliver consistent results that will have everyone asking for the recipe.
Ready to transform simple chickpeas into your new favorite appetizer? Grab your ingredients and get baking! Share your results in the comments below and let us know what creative variations you tried. Don’t forget to explore our other appetizer recipes for more crowd-pleasing ideas that combine nutrition with deliciousness.
FAQs
Can I make these pastries ahead of time? Absolutely! You can prepare the chickpea filling up to 3 days in advance and store it refrigerated. Assemble the pastries the day of serving, or freeze them unbaked for up to 3 months. Baked pastries can be frozen and reheated in the oven, maintaining most of their original texture and flavor.
What can I use instead of puff pastry? Phyllo dough works beautifully and creates a lighter, crispier texture with fewer calories. Use 3-4 sheets per pastry, brushing each layer with olive oil or melted butter. You can also use crescent roll dough for a softer, bread-like texture, or try empanada dough for a more authentic hand-pie experience.
How do I make these pastries spicier or milder? Adjust the cayenne pepper to your heat preference. For milder pastries, reduce or omit the cayenne entirely and use sweet paprika instead of smoked. For more heat, increase cayenne to 1 teaspoon or add a minced fresh jalapeño to the filling. You can also serve with spicy harissa or sriracha for those who want extra kick.
Can I use dried chickpeas instead of canned? Yes! Cook 1 cup of dried chickpeas according to package directions, which typically yields about 2 cups cooked. Dried chickpeas often have better texture and flavor, though they require advance planning. Soak them overnight, then simmer for 1-2 hours until tender but not mushy.
Why did my pastries burst open during baking? Bursting usually occurs from overfilling, inadequate sealing, or using filling that’s too warm. Use no more than 1.5 tablespoons of filling per pastry, let the filling cool completely before assembling, and press the edges firmly with a fork. A small vent hole poked in the top can also release steam and prevent bursting.
Are these pastries suitable for meal prep? These pastries are excellent for meal prep. Bake a large batch and store portions in the freezer for quick reheating. They make great additions to lunch boxes, provide satisfying snacks between meals, and can be served for breakfast alongside eggs. Their portability and room-temperature appeal make them ideal for on-the-go eating.