


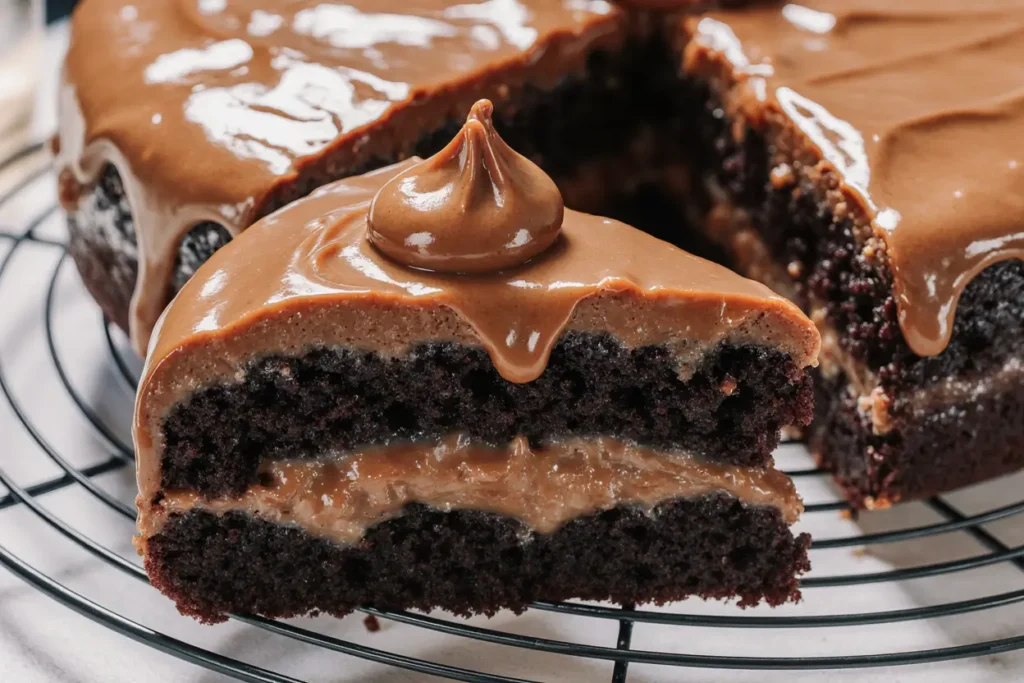
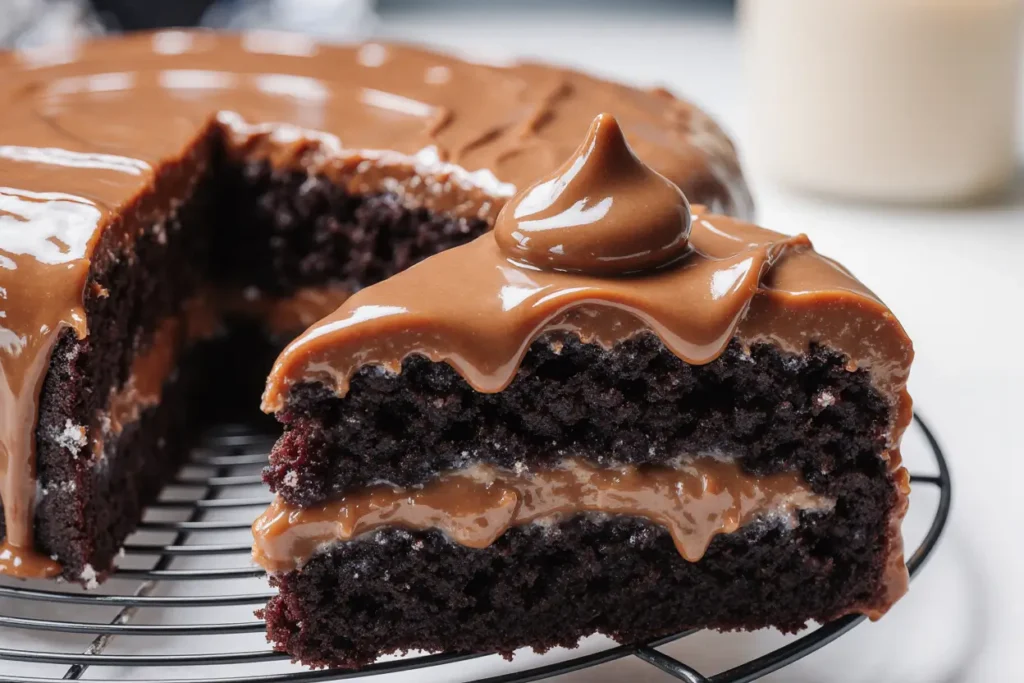
If you’re a chocolate lover looking for the perfect dessert that’s rich, moist, and easy to make from scratch, this Homemade Chocolate Cake recipe is the one for you. Whether you’re baking for a birthday, a holiday gathering, or just to satisfy a deep chocolate craving, this decadent treat is guaranteed to impress. With simple ingredients and foolproof steps, it delivers a bakery-quality result right from your home kitchen.
This post is packed with expert baking tips, storage solutions, ingredient swaps, and pairing ideas to help you get the most out of your chocolate cake experience. Let’s dive in and make magic happen, one slice at a time.
Why You’ll Love This Homemade Chocolate Cake
This recipe isn’t just another chocolate cake—it’s a show-stopper. Here’s why it stands out:
- Moist and fluffy texture from a well-balanced combination of flour, oil, and boiling water.
- Deep chocolate flavor with unsweetened cocoa and rich frosting.
- Versatile and forgiving—you can swap ingredients and still get great results.
- No fancy tools or techniques required—just a whisk, a bowl, and your love for chocolate.
- Perfect for all levels of bakers, whether you’re a first-timer or a seasoned dessert aficionado.
Ingredients You’ll Need
For the Cake:
- 1 and 3/4 cups (220g) all-purpose flour
- 1 and 1/2 cups (300g) granulated sugar
- 3/4 cup (65g) unsweetened cocoa powder
- 1 and 1/2 tsp baking powder
- 1 and 1/2 tsp baking soda
- 1/2 tsp salt
- 2 large eggs
- 1 cup (240ml) whole milk
- 1/2 cup (120ml) vegetable oil
- 2 tsp vanilla extract
- 1 cup (240ml) boiling water
For the Frosting:
- 1 cup (230g) unsalted butter, softened
- 3 and 1/2 cups (440g) powdered sugar
- 1/2 cup (45g) unsweetened cocoa powder
- 1/4 cup (60ml) milk
- 2 tsp vanilla extract
Kitchen Equipment You’ll Need
- Two 9-inch round cake pans
- Mixing bowls (large and medium)
- Whisk
- Electric mixer or stand mixer
- Measuring cups and spoons
- Rubber spatula
- Cooling rack
- Offset spatula (for frosting)
- Toothpicks (to test doneness)
- Cake stand or serving plate
Step-by-Step Instructions
Step 1: Preheat and Prep
Preheat your oven to 350°F (175°C). Grease and flour two 9-inch cake pans or line them with parchment paper for easy removal.
Step 2: Mix the Dry Ingredients
In a large mixing bowl, whisk together the flour, granulated sugar, cocoa powder, baking powder, baking soda, and salt. This ensures even distribution of the leavening agents and cocoa.
Step 3: Add Wet Ingredients
Add the eggs, milk, oil, and vanilla extract to the dry mix. Using a hand or stand mixer, beat the mixture on medium speed until the batter is smooth and well-blended.
Step 4: Add Boiling Water
Stir in the boiling water carefully. The batter will become very thin—this is key to the cake’s moist texture.
Step 5: Bake
Pour the batter evenly into the prepared pans. Bake for 30–35 minutes, or until a toothpick inserted in the center comes out clean.
Step 6: Cool the Cakes
Let the cakes cool in the pans for 10 minutes, then transfer them to a wire rack to cool completely before frosting.
Step 7: Make the Frosting
In a medium bowl, beat the softened butter until creamy. Slowly add in the powdered sugar and cocoa powder, mixing on low. Then add milk and vanilla extract and beat on high speed until the frosting is fluffy and smooth.
Step 8: Assemble and Frost
Spread a generous layer of frosting on top of one cake layer. Place the second layer on top and frost the top and sides. Use an offset spatula for a smooth finish.
Tips & Tricks for Perfect Results
- Use room temperature eggs and milk: This helps everything blend evenly and creates a smoother batter.
- Boiling water trick: It intensifies the chocolate flavor while creating a moist crumb. Don’t skip it!
- Don’t overmix the batter once the water is added—just stir to combine.
- Cool completely before frosting: Warm cake can melt your frosting and cause it to slide.
Ingredient Swaps and Variations
- Dairy-free: Use almond milk or oat milk and a vegan butter alternative.
- Gluten-free: Substitute all-purpose flour with a 1:1 gluten-free baking blend.
- Richer chocolate flavor: Add 1/2 tsp of instant espresso powder to the batter.
- Flavor twist: Add orange zest or peppermint extract to the frosting for a seasonal touch.
- Cupcake version: This recipe yields about 24 cupcakes. Bake at 350°F for 18–22 minutes.
How to Store Your Homemade Chocolate Cake
Room Temperature: Store the cake covered at room temp for up to 2 days.
Refrigerator: Store in an airtight container for up to 5 days. Let it come to room temp before serving for the best texture.
Freezer: Wrap individual slices or the whole cake (unfrosted or frosted) tightly in plastic wrap and foil. Freeze for up to 3 months. Thaw overnight in the fridge or at room temp for a few hours.
Food & Drink Pairings
- Drink pairings: Enjoy with a glass of cold milk, a cup of hot coffee, or a bold red wine like Cabernet Sauvignon.
- Side pairings: Serve with a scoop of vanilla bean ice cream or a dollop of whipped cream for extra indulgence.
- Fruit pairings: Fresh berries (like raspberries or strawberries) cut through the richness with their tartness.
Frequently Asked Questions (FAQ)
Can I make this cake ahead of time?
Yes! Bake the layers a day in advance and store them wrapped at room temperature. Frost just before serving.
Can I use Dutch-process cocoa instead of regular?
Yes, but reduce the baking powder slightly since Dutch-process cocoa is more alkaline. Alternatively, stick with natural cocoa for the most balanced rise.
What if I only have one cake pan?
You can bake the layers one at a time, or bake the whole batter in one tall pan and slice it in half horizontally once cooled.
How do I get smooth frosting?
Make sure your butter is fully softened and sift the powdered sugar and cocoa powder for a lump-free frosting.
Can I make this into a sheet cake?
Absolutely. Use a 9×13-inch pan and increase baking time slightly to 35–40 minutes.
Final Thoughts
This Homemade Chocolate Cake is more than just dessert—it’s an experience. With its luxurious texture, rich flavor, and adaptable recipe, it deserves a spot in every baker’s recipe box. Whether you’re celebrating or just indulging, every bite delivers the kind of comfort and satisfaction only homemade chocolate cake can.
If you love this recipe, don’t keep it a secret—share it with your friends, pin it for later, and subscribe to the blog for more high-quality, tested recipes designed to make your time in the kitchen a joy.
Happy baking—and even happier eating!


