King’s Hawaiian Cheesecake Danish
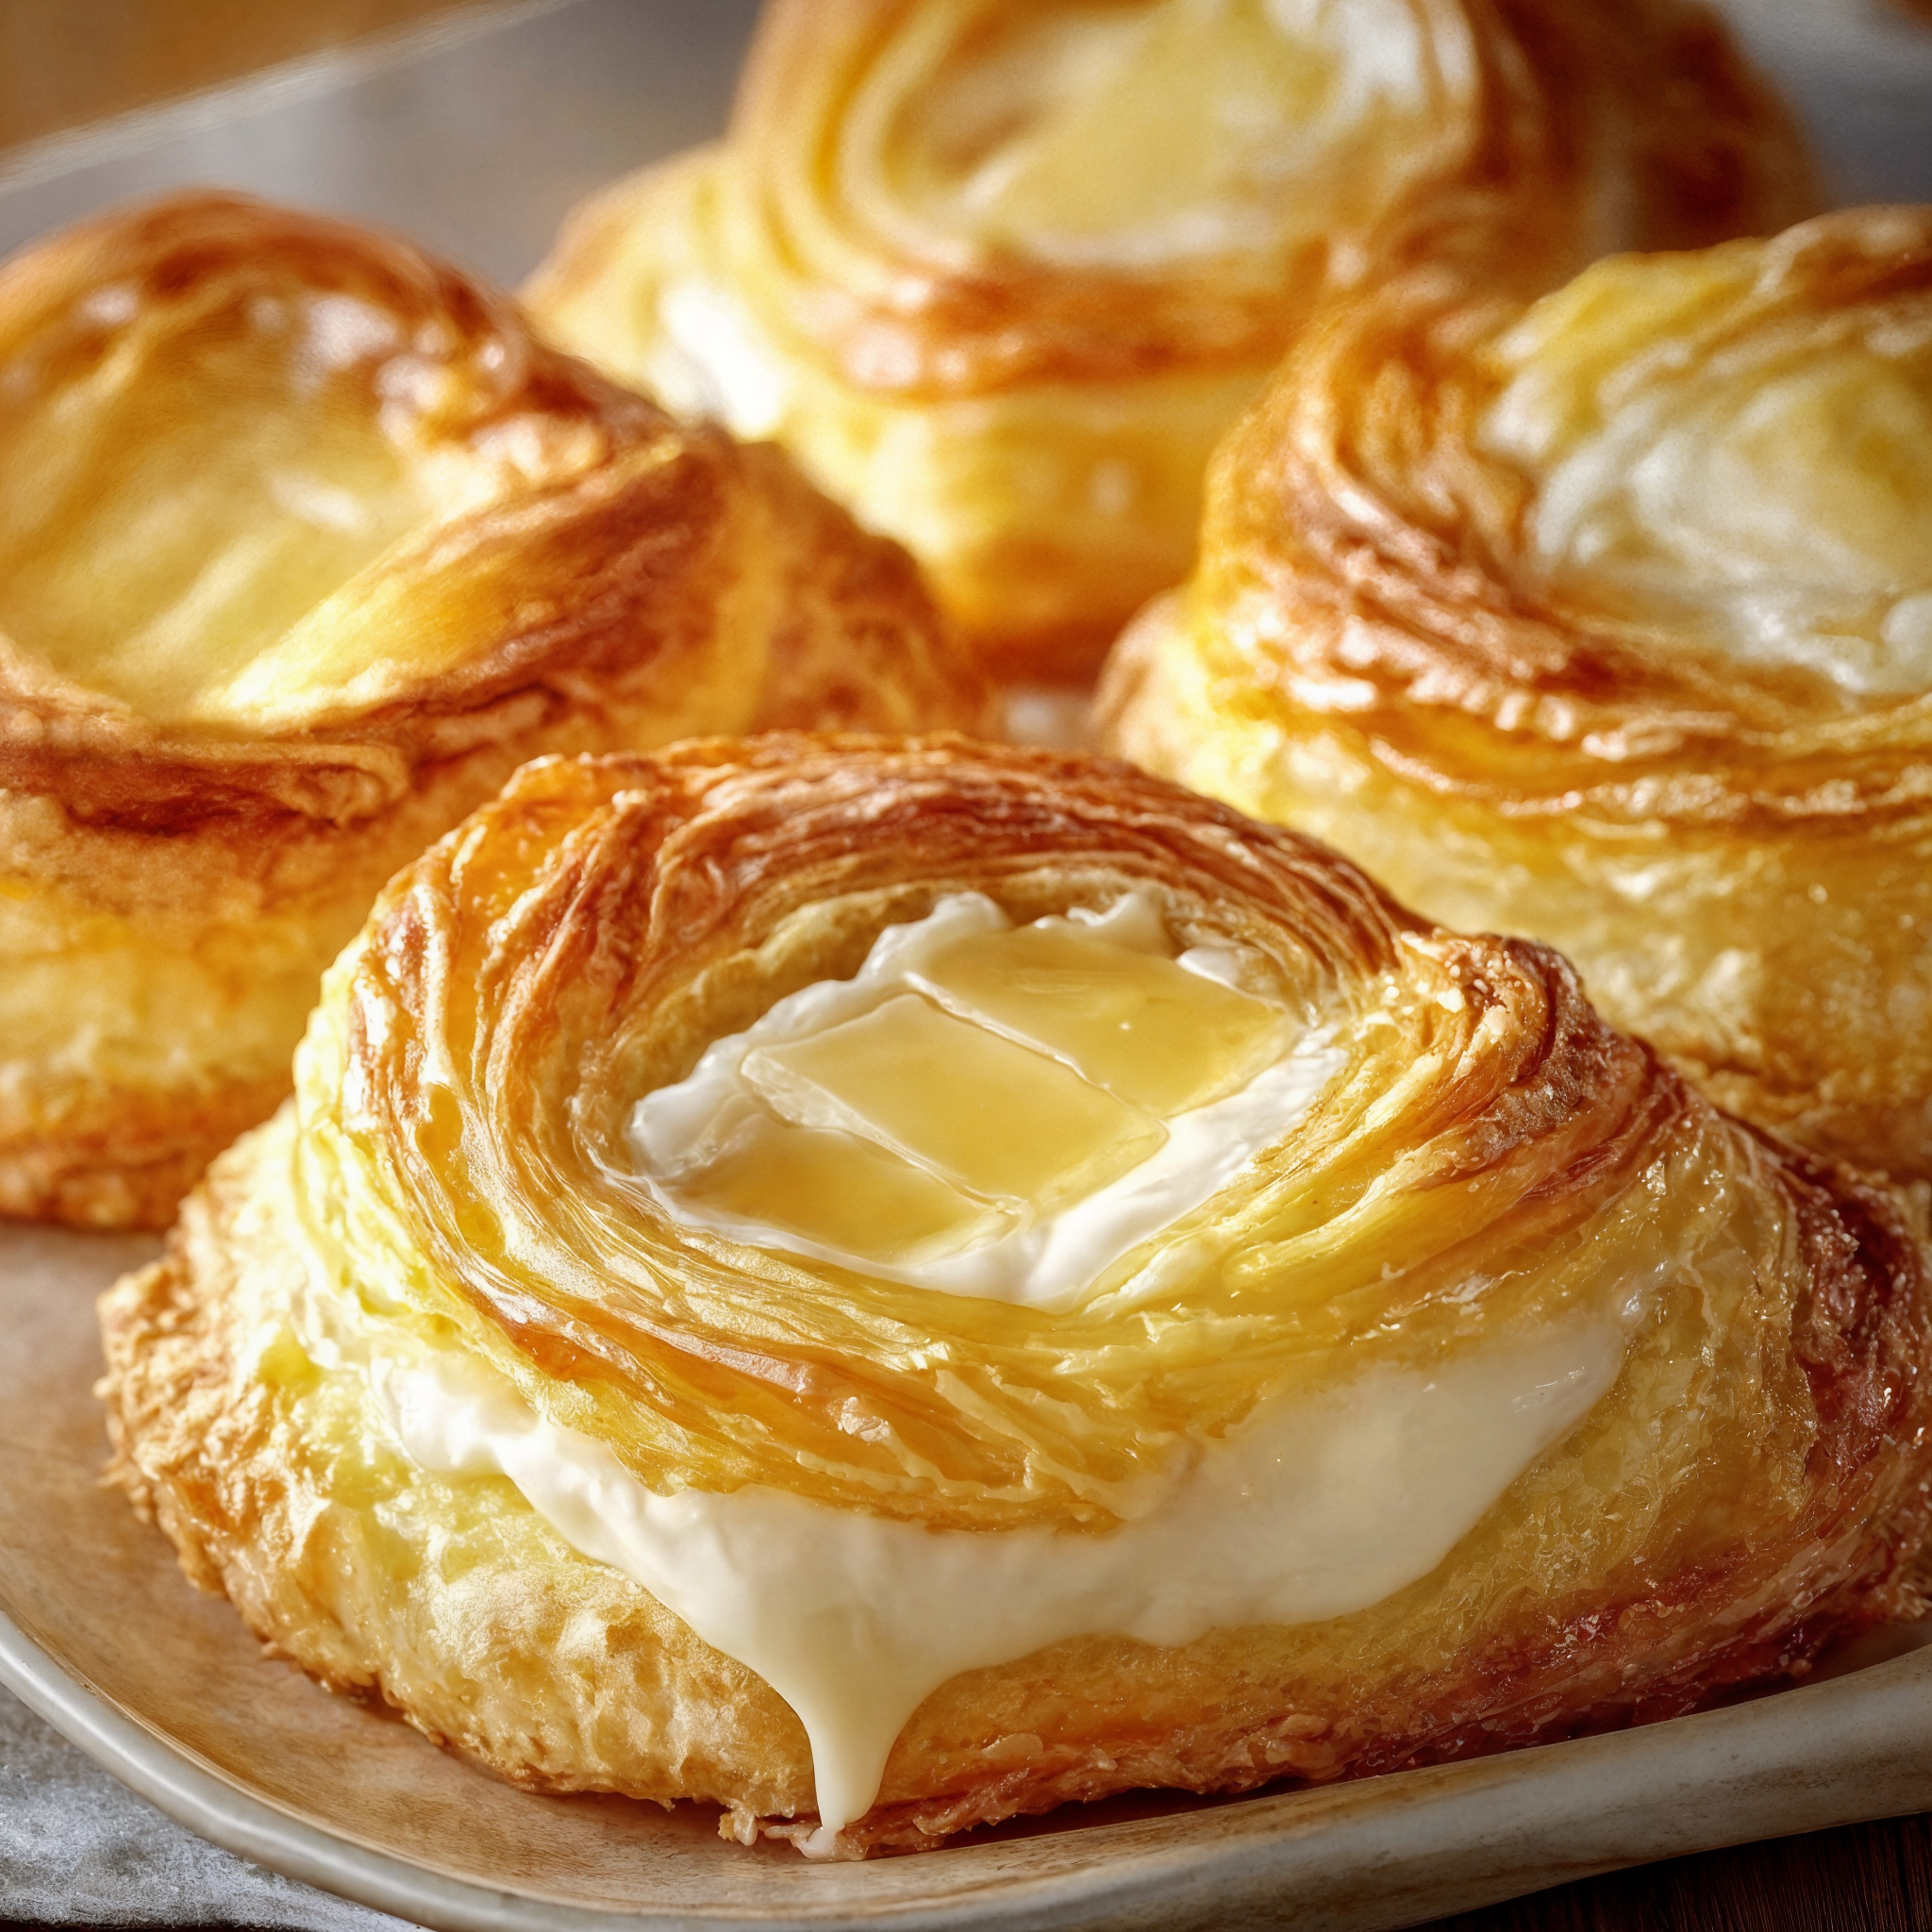
If you love buttery pastries, creamy cheesecake, and melt-in-your-mouth sweet bread, then this King’s Hawaiian Cheesecake Danish recipe is about to become your go-to crowd-pleaser. With only a few simple ingredients and minimal prep time, you can turn a package of King’s Hawaiian rolls into a decadent, bakery-style treat perfect for brunches, baby showers, holidays—or just because you deserve something sweet.
Whether you’re entertaining guests or making breakfast extra special for your family, this easy danish recipe is an absolute win. The combination of fluffy sweet rolls, a rich cheesecake filling, and a buttery golden crust delivers everything you want in a pastry—without all the fuss.
Why You’ll Love This Cheesecake Danish
Quick & easy: No yeast, no dough mixing, no rolling. Just slice, fill, bake, and enjoy.
Minimal ingredients: You probably already have everything in your fridge and pantry.
Perfect for any occasion: Make it for Easter brunch, Mother’s Day breakfast, or a Saturday morning treat.
Customizable: Add fruit preserves, lemon zest, or chocolate chips for fun variations.
Ingredients You’ll Need
Here’s everything required to make this delightfully gooey and creamy danish:
1 package (12 rolls) King’s Hawaiian sweet rolls
8 oz cream cheese, softened
1/3 cup granulated sugar
1 tsp vanilla extract
1 large egg yolk
1/2 cup strawberry or raspberry preserves (optional)
1 tbsp melted butter (for brushing)
Powdered sugar (optional, for dusting before serving)
Note: Feel free to substitute your favorite jam, or skip it altogether for a classic cheesecake flavor.
Tools & Kitchen Equipment
To make this King’s Hawaiian Cheesecake Danish, you’ll need:
Serrated knife (for cleanly slicing the rolls)
Mixing bowl
Hand mixer or whisk
Baking sheet or shallow baking dish
Parchment paper or nonstick spray
Silicone brush (for butter)
Spatula or spoon (to spread the filling)
Sifter or fine mesh strainer (for powdered sugar)
Step-by-Step Instructions
1. Preheat the Oven
Preheat your oven to 350°F (175°C). Line a baking sheet with parchment paper or lightly grease a baking dish.
2. Slice the Rolls
Without separating the rolls, carefully slice the entire block in half horizontally—creating a top and bottom half, like a sandwich bun.
Place the bottom half on your prepared baking surface.
3. Make the Cheesecake Filling
In a medium mixing bowl, combine:
Softened cream cheese
Granulated sugar
Vanilla extract
Egg yolk
Mix until smooth and creamy using a hand mixer or whisk.
Pro Tip: Make sure the cream cheese is fully softened for the silkiest filling texture.
4. Assemble the Danish
Spread the cheesecake filling evenly over the bottom layer of the rolls. If using fruit preserves, spoon a thin, even layer over the cheesecake mixture.
Carefully place the top half of the rolls back over the filling, pressing lightly to align.
5. Bake to Golden Perfection
Brush the tops of the rolls with melted butter for a rich, glossy finish.
Bake for 18–22 minutes, or until the tops are golden brown and the cheesecake filling is set.
Watch closely toward the end to avoid overbaking—the rolls should be soft, not dry.
6. Cool, Slice, and Serve
Let the danish cool for about 5 minutes before slicing along the seams to create individual portions.
Dust with powdered sugar for a beautiful, sweet finishing touch.
Make It Your Own: Variations & Tips
Lemon Cheesecake Danish: Add 1 tsp of lemon zest to the cream cheese filling for a fresh, tangy twist.
Berry Bliss: Use blueberry, blackberry, or mixed berry jam.
Chocolate Lovers: Add a few mini chocolate chips to the cheesecake layer before baking.
Nutty Delight: Sprinkle crushed pecans or slivered almonds on top before baking for a crunchy contrast.
Mini Versions: Use King’s Hawaiian slider buns and make smaller individual danishes—great for brunch buffets!
What to Serve with Cheesecake Danish
Pair this sweet treat with:
Fresh berries or fruit salad for brightness
Scrambled eggs or a savory breakfast casserole to balance the sweetness
Coffee, lattes, or chai tea for a cozy morning vibe
Sparkling mimosa or citrus spritzer for brunch gatherings
Storage & Reheating Instructions
Refrigeration:
Store any leftovers in an airtight container in the refrigerator for up to 4 days.
Reheating:
Warm in the microwave for about 15–20 seconds or reheat in a low oven (300°F) for a few minutes until warmed through.
They taste just as good the next day—if you have any left!
Freezing:
Freeze unbaked or baked danishes (wrapped well) for up to 2 months. Thaw overnight in the fridge before baking or reheating.
Frequently Asked Questions (FAQ)
Can I use low-fat cream cheese?
Yes, but full-fat cream cheese yields the creamiest and most decadent texture. Low-fat versions work but may be slightly thinner.
Can I make this the night before?
Absolutely! Assemble the danish the night before, cover, and refrigerate. Bake fresh in the morning.
What’s the best fruit preserve to use?
Strawberry and raspberry are classic, but feel free to experiment with peach, apricot, or blueberry.
Can I use other bread types?
King’s Hawaiian rolls are ideal for their sweet, fluffy texture, but brioche or challah rolls can also work well.
Final Thoughts
This King’s Hawaiian Cheesecake Danish is the definition of indulgence—sweet, creamy, buttery, and beautifully simple to prepare. It’s the kind of treat that feels fancy but is secretly easy to make. Once you try it, you’ll want to bake it for every occasion—or no occasion at all.
Did you enjoy this recipe? Share it with your friends and family, pin it to your favorite recipe board, and don’t forget to subscribe to the blog for more easy, delicious, and totally crave-worthy recipes like this!