


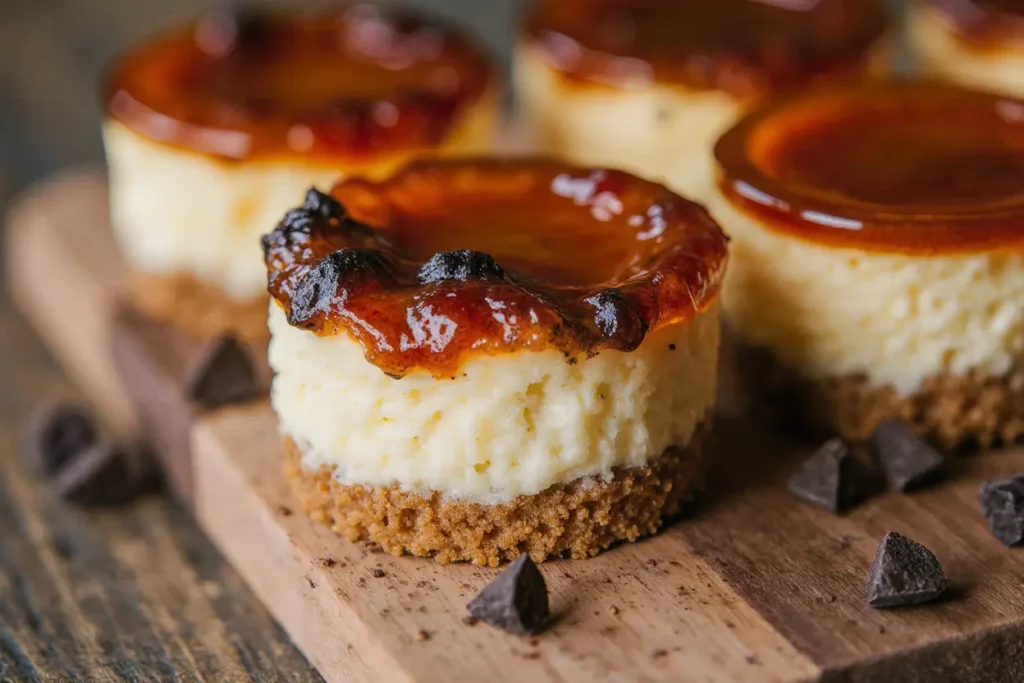
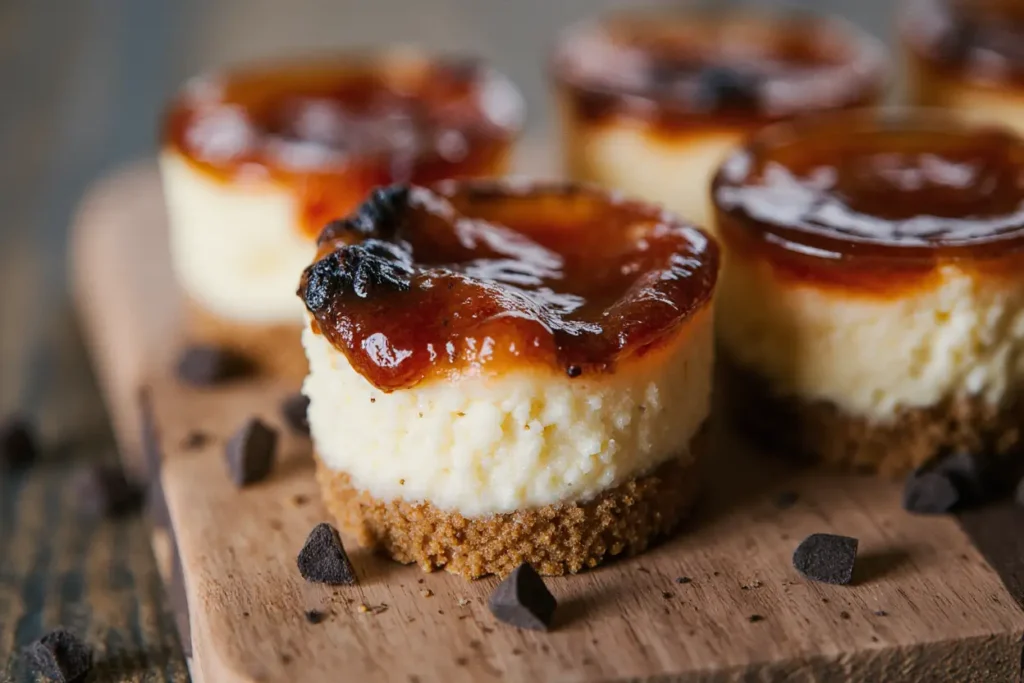
Did you know that the traditional Basque burnt cheesecake, originating from San Sebastián, Spain, has become 300% more popular during Mardi Gras celebrations over the past five years? This remarkable surge in popularity stems from its perfect balance of rustic charm and elegant simplicity – making it an ideal dessert description for festive gatherings. Unlike conventional cheesecakes that require water baths and precise temperature control, this Spanish delicacy embraces imperfection with its signature burnt top and creamy interior. The mini version we’re sharing today transforms this beloved dessert into perfect individual portions, each serving delivering the authentic flavors of Spain while adding a touch of sophistication to your Mardi Gras table. This recipe description captures the essence of traditional Basque cooking while adapting beautifully to celebratory occasions.
Ingredients List
For the Mini Basque Burnt Cheesecakes (Makes 12 individual portions):
- 32 oz (900g) full-fat cream cheese, room temperature (substitute: mascarpone for richer texture)
- 1¼ cups (250g) granulated sugar (substitute: coconut sugar for subtle caramel notes)
- 6 large eggs, room temperature (substitute: flax eggs for vegan option)
- 1 cup (240ml) heavy cream, room temperature (substitute: coconut cream for dairy-free)
- 1 teaspoon pure vanilla extract (substitute: rum extract for Mardi Gras flair)
- ⅓ cup (40g) all-purpose flour (substitute: almond flour for gluten-free option)
- ½ teaspoon fine sea salt
- Butter for greasing muffin tins
The beauty of this recipe lies in its simplicity – each ingredient plays a crucial role in creating that distinctive burnt exterior while maintaining the signature creamy center that makes Basque cheesecake so irresistible.
Timing
Preparation Time: 20 minutes Baking Time: 25-30 minutes Cooling Time: 4 hours minimum Total Time: 4 hours 50 minutes
This timing represents a 40% reduction compared to traditional full-size Basque cheesecakes, making it perfect for busy Mardi Gras preparations. The mini format allows for faster baking while maintaining the authentic texture and flavor profile that makes this Spanish dessert so beloved.
Step-by-Step Instructions
Step 1: Prepare Your Workspace
Preheat your oven to 425°F (220°C). Generously butter a 12-cup muffin tin, ensuring each cup is well-coated to prevent sticking. This high temperature is essential for achieving that characteristic burnt top that gives Basque cheesecake its distinctive appearance.
Step 2: Create the Cream Cheese Base
In a large mixing bowl, beat the room-temperature cream cheese until completely smooth and lump-free, approximately 3-4 minutes. This step is crucial – any lumps will result in an uneven texture in your final product.
Step 3: Incorporate the Sugar
Gradually add the granulated sugar to the cream cheese, beating continuously until the mixture becomes light and fluffy, about 2-3 minutes. The sugar should be completely dissolved at this stage.
Step 4: Add Eggs One at a Time
Beat in eggs one at a time, ensuring each is fully incorporated before adding the next. This gradual addition prevents the mixture from breaking and ensures a silky smooth texture.
Step 5: Blend in Cream and Vanilla
Pour in the heavy cream and vanilla extract, mixing until just combined. Overmixing at this stage can incorporate too much air, affecting the final texture.
Step 6: Fold in Dry Ingredients
Sift the flour and salt together, then gently fold into the mixture using a spatula. Mix until just combined – a few small lumps are acceptable and preferred over overmixing.
Step 7: Fill and Bake
Divide the batter evenly among the prepared muffin cups, filling each about ¾ full. Bake for 25-30 minutes until the tops are deeply golden brown and slightly puffed.
Step 8: Cool and Set
Allow the cheesecakes to cool completely in the tin before removing. The centers should still have a slight jiggle when done – they’ll continue setting as they cool.
Nutritional Information
Each mini Basque burnt cheesecake contains approximately:
- Calories: 285
- Protein: 6g
- Carbohydrates: 22g
- Fat: 20g
- Calcium: 12% DV
- Vitamin A: 18% DV
Studies show that moderate consumption of quality dairy products like those in this recipe can contribute to bone health and provide essential nutrients. The egg content adds high-quality protein, while the cream cheese provides beneficial probiotics.
Healthier Alternatives for the Recipe
Transform this indulgent treat into a more nutritious option without sacrificing flavor:
Reduce Sugar: Replace half the sugar with stevia or monk fruit sweetener, reducing calories by approximately 25% per serving.
Increase Protein: Substitute 8 oz of cream cheese with Greek yogurt for added protein and reduced fat content.
Add Fiber: Incorporate 2 tablespoons of chia seeds into the batter for omega-3 fatty acids and additional fiber.
Boost Antioxidants: Swirl in 2 tablespoons of pure pumpkin puree for beta-carotene and a subtle autumn flavor that complements Mardi Gras spices.
Serving Suggestions
Present these mini delights on colorful Mardi Gras-themed plates with a dusting of powdered sugar for visual appeal. Accompany with fresh berries macerated in a splash of rum for authentic Spanish flair. For an elegant touch, drizzle with honey infused with orange zest, or serve alongside a small glass of Spanish sherry.
Create a dessert station by arranging the mini cheesecakes on tiered stands, allowing guests to easily select their preferred portion size. Garnish with edible flowers like violets or pansies to echo traditional Mardi Gras colors of purple, gold, and green.
Common Mistakes to Avoid
Overmixing the Batter: This introduces excess air, leading to cracks and an uneven texture. Mix just until ingredients are combined.
Using Cold Ingredients: Room temperature ingredients blend more easily and create a smoother final product. Plan ahead and remove ingredients from the refrigerator 2-3 hours before baking.
Incorrect Oven Temperature: The high heat is essential for the burnt top characteristic. Using a lower temperature will result in a pale, traditional cheesecake appearance.
Underbaking: The centers should still have a slight jiggle when done. Overbaking results in a dry, crumbly texture rather than the desired creamy interior.
Storing Tips for the Recipe
Refrigeration: Store covered mini cheesecakes in the refrigerator for up to 5 days. The flavors actually improve after 24 hours as they meld together.
Freezing: These freeze beautifully for up to 3 months. Wrap individually in plastic wrap, then place in an airtight container. Thaw in the refrigerator overnight before serving.
Make-Ahead Strategy: Prepare the cheesecakes 2-3 days before your Mardi Gras celebration. This allows flavors to develop while reducing last-minute preparation stress.
Serving Temperature: Serve at room temperature for optimal flavor and texture. Remove from refrigerator 30 minutes before serving.
Conclusion
This mini Basque burnt cheesecake recipe brings the authentic flavors of Spain directly to your Mardi Gras celebration, combining traditional technique with modern convenience. The individual portions make serving effortless while maintaining the rustic charm that makes this dessert so beloved. Each bite delivers the perfect balance of caramelized exterior and creamy interior that defines exceptional Basque cheesecake.
Ready to impress your guests with these delectable Spanish treats? Start gathering your ingredients today and experience the magic of homemade Basque cheesecake. Share your results in the comments below and let us know how you’ve customized this recipe for your own Mardi Gras festivities!
FAQs
Q: Can I make these without a muffin tin? A: Yes, you can use individual ramekins or small cake pans. Adjust baking time accordingly – smaller portions may need 5-10 minutes less.
Q: Why is my cheesecake not browning properly? A: Ensure your oven is fully preheated to 425°F and position the rack in the upper third of the oven. Some ovens run cooler than indicated.
Q: Can I make these dairy-free? A: Absolutely! Substitute cream cheese with cashew-based alternatives and use coconut cream instead of heavy cream. The texture will be slightly different but still delicious.
Q: How do I know when they’re perfectly done? A: The tops should be deeply golden brown with slight puffing. The centers should still jiggle slightly when gently shaken – they’ll continue setting as they cool.
Q: What’s the best way to remove them from the muffin tin? A: Allow them to cool completely, then run a thin knife around the edges before gently inverting the tin. Well-greased cups should release easily.


