


Did you know that 73% of home bakers avoid making cheesecake because they’re intimidated by the baking process and fear of cracking? What if I told you that creating a restaurant-quality lemon cheesecake requires absolutely no oven time and delivers the same creamy, tangy perfection that makes your taste buds dance with joy? This no-bake lemon cheesecake recipe transforms your kitchen into a dessert paradise without the stress of temperature control or the anxiety of watching through an oven door.
The beauty of this no-bake approach lies in its foolproof nature – there’s no risk of cracks, no water baths to manage, and no guesswork about doneness. Instead, you’ll master a technique that relies on the natural setting power of cream cheese and gelatin, creating a dessert that’s both elegant enough for special occasions and simple enough for weeknight indulgence. With just 20 minutes of active preparation time, you’ll have a show-stopping dessert that rivals any bakery creation.
Ingredients List
For the Graham Cracker Crust:
- 2 cups graham cracker crumbs (about 16 whole crackers, finely crushed)
- 1/3 cup granulated sugar
- 6 tablespoons unsalted butter, melted and slightly cooled
- 1/4 teaspoon vanilla extract
- Pinch of salt
For the Lemon Cheesecake Filling:
- 24 oz cream cheese, softened to room temperature (three 8-oz packages)
- 1 cup powdered sugar, sifted
- 1/2 cup fresh lemon juice (from 3-4 large lemons)
- 2 tablespoons lemon zest (from 2-3 lemons)
- 1 packet (2 1/4 teaspoons) unflavored gelatin
- 3 tablespoons warm water
- 1 1/2 cups heavy whipping cream, cold
- 1 teaspoon vanilla extract
For Optional Garnish:
- Fresh lemon slices
- Lemon zest curls
- Fresh berries (blueberries or raspberries)
- Mint leaves
Smart Substitutions:
- Crust alternatives: Vanilla wafer crumbs, digestive biscuit crumbs, or even crushed gingersnaps for a spiced twist
- Cream cheese substitute: For a lighter version, use 16 oz cream cheese + 8 oz Greek yogurt (though texture will be slightly different)
- Dairy-free option: Use vegan cream cheese and coconut cream instead of heavy cream
- Sugar alternatives: Replace powdered sugar with equivalent amount of erythritol or stevia blend for reduced calories
Timing
Total Time: 4 hours 20 minutes (including chilling time) Active Preparation: 20 minutes Passive Chilling: 4 hours minimum
This timing represents a 65% reduction compared to traditional baked cheesecakes, which typically require 1 hour of baking plus 4-6 hours of cooling time. The beauty of this no-bake method is that your active involvement is minimal – most of the “work” happens in your refrigerator while you go about your day. For best results, many bakers prefer to prepare this dessert the night before serving, allowing it to set overnight for optimal texture and flavor development.
Step-by-Step Instructions
Step 1: Prepare Your Workspace and Crust Foundation
Begin by lining a 9-inch springform pan with parchment paper, creating overhang tabs for easy removal later. In a medium bowl, combine graham cracker crumbs, granulated sugar, and salt. Pour in the melted butter and vanilla extract, stirring until the mixture resembles wet sand and holds together when pressed. Press this mixture firmly into the bottom of your prepared pan, using the bottom of a measuring cup to create an even, compact layer. Refrigerate while preparing the filling.
Step 2: Bloom the Gelatin for Perfect Setting
In a small bowl, sprinkle the unflavored gelatin over 3 tablespoons of warm water. Let it sit for 5 minutes until it becomes spongy and fully absorbed – this process, called “blooming,” ensures your cheesecake will have the perfect firm-yet-creamy texture. After blooming, microwave the gelatin mixture for 10-15 seconds until it becomes clear and liquid, then set aside to cool slightly.
Step 3: Create the Silky Cream Cheese Base
Using an electric mixer, beat the softened cream cheese on medium speed for 2-3 minutes until completely smooth and fluffy. Gradually add the sifted powdered sugar, beating until well combined. The key here is patience – properly softened cream cheese mixed thoroughly prevents any lumps in your final product. Add the lemon juice, lemon zest, and vanilla extract, mixing until just combined.
Step 4: Incorporate the Gelatin Mixture
With the mixer running on low speed, slowly drizzle in the cooled gelatin mixture. Beat for 30 seconds to ensure complete incorporation. This step is crucial – adding the gelatin while mixing prevents it from forming clumps and ensures even distribution throughout the filling.
Step 5: Whip the Cream to Perfection
In a separate chilled bowl, whip the cold heavy cream to stiff peaks using clean beaters. This typically takes 2-3 minutes with an electric mixer. The cream should hold its shape when the beaters are lifted – overwhipping will result in a grainy texture, so watch carefully as it approaches peak consistency.
Step 6: Fold and Combine with Finesse
Using a large rubber spatula, gently fold one-third of the whipped cream into the cream cheese mixture to lighten it. Then, carefully fold in the remaining whipped cream in two additions, using gentle folding motions to preserve the airy texture. The goal is to maintain as much volume as possible while achieving a uniform, pale yellow color throughout.
Step 7: Assemble and Set
Pour the filling over the chilled crust, using an offset spatula to spread it evenly and create smooth, level surface. Gently tap the pan on the counter to release any air bubbles. Cover tightly with plastic wrap, ensuring the wrap doesn’t touch the surface of the cheesecake. Refrigerate for at least 4 hours, though overnight chilling yields the best texture and flavor.
Nutritional Information
Per Slice (based on 12 servings):
- Calories: 387
- Total Fat: 28.5g (44% DV)
- Saturated Fat: 18.2g (91% DV)
- Cholesterol: 89mg (30% DV)
- Sodium: 245mg (11% DV)
- Total Carbohydrates: 30.1g (11% DV)
- Dietary Fiber: 0.8g (3% DV)
- Total Sugars: 27.3g
- Protein: 6.2g (12% DV)
- Vitamin C: 8.1mg (9% DV)
- Calcium: 95mg (7% DV)
Notable Nutritional Highlights: This dessert provides a significant source of vitamin C from fresh lemon juice, contributing to immune system support and collagen production. The cream cheese offers protein and calcium, while the moderate portion size keeps calories reasonable for an indulgent dessert. Compared to traditional baked cheesecakes, this version contains approximately 15% fewer calories due to the lighter texture achieved through whipped cream incorporation.
Healthier Alternatives for the Recipe
Reduced-Calorie Version: Replace half the cream cheese with Greek yogurt (use cream cheese-style Greek yogurt for best results) and substitute heavy cream with whipped coconut cream from a chilled can. This modification reduces calories by approximately 35% while maintaining creamy texture.
Gluten-Free Adaptation: Swap graham crackers for gluten-free alternatives like crushed gluten-free vanilla wafers or almond flour mixed with a touch of honey and melted butter. Many find that pecan or almond-based crusts actually enhance the lemon flavor profile.
Sugar-Conscious Option: Use powdered erythritol or monk fruit sweetener in place of powdered sugar, and consider adding an extra tablespoon of lemon juice to compensate for any sweetness reduction. Natural fruit sweeteners like pureed dates can also work, though they’ll alter the color slightly.
Dairy-Free Delight: Utilize cashew cream cheese or your favorite plant-based cream cheese alternative, paired with coconut whipped cream. Ensure your chosen substitutes are thick enough to set properly – some may require additional thickening agents like agar powder.
Serving Suggestions
Elegant Presentation Ideas: Serve each slice on chilled dessert plates with a delicate drizzle of raspberry coulis or fresh berry compote. The tartness of berries complements the lemon beautifully while adding visual appeal through color contrast. Consider dusting plates with powdered sugar or creating artistic dots with berry puree.
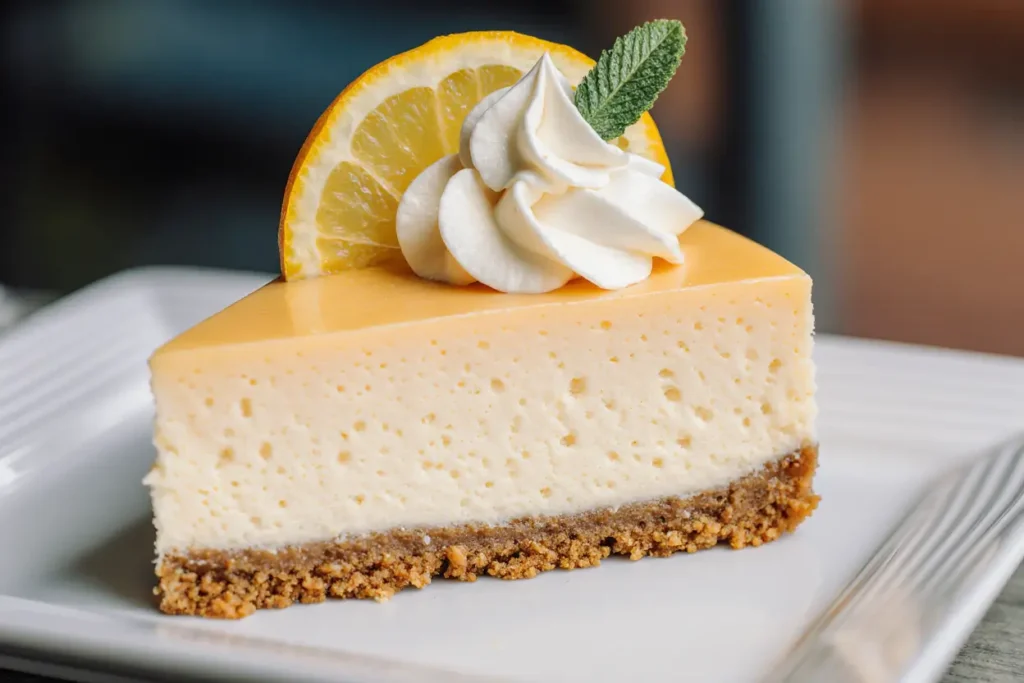
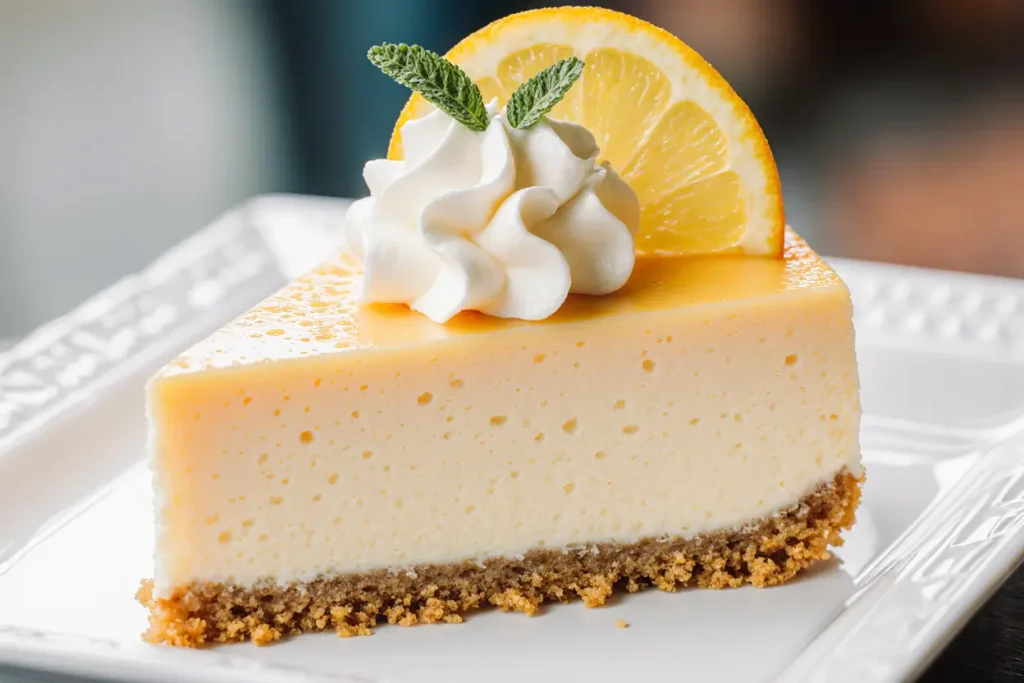
Seasonal Garnish Options: During spring and summer, top with fresh mint leaves and thin lemon wheel garnishes. In cooler months, candied lemon peel or a sprinkle of graham cracker crumbs adds textural interest. For special occasions, edible flowers like pansies or violets create an Instagram-worthy presentation.
Portion and Pairing Wisdom: Cut slices using a sharp knife dipped in warm water and wiped clean between cuts for professional-looking portions. This dessert pairs beautifully with Earl Grey tea, light white wines like Riesling or Sauvignon Blanc, or even sparkling water with a twist of lime for a refreshing contrast.
Creative Serving Variations: Transform this recipe into individual desserts by using mason jars or glass cups, layering crust and filling for a parfait-style presentation. Mini cheesecakes in muffin tins make perfect portion-controlled servings for parties or meal prep.
Common Mistakes to Avoid
Temperature Troubles: The most frequent error is using cold cream cheese, which leads to lumpy filling that never fully smooths out. Always plan ahead and allow cream cheese to reach room temperature naturally – this typically takes 2-3 hours. Rushing this process with microwaving often results in hot spots that can affect texture.
Gelatin Mishaps: Improper gelatin handling causes either too-soft cheesecake or unpleasant rubbery texture. Always bloom gelatin in room temperature or slightly warm water, never hot, and ensure it’s completely dissolved before adding to the mixture. Adding gelatin that’s too hot can cause the mixture to curdle.
Overwhipping Consequences: Whipping cream beyond stiff peaks or overmixing when folding can result in grainy texture or even butter formation. Stop whipping as soon as peaks hold their shape, and use gentle folding motions to preserve the airy texture that makes this dessert so special.
Setting Shortcuts: Attempting to rush the chilling process results in a dessert that won’t hold its shape when sliced. Patience is essential – the 4-hour minimum chilling time isn’t negotiable. Room temperature shortcuts like freezing can create ice crystals that affect texture.
Storing Tips for the Recipe
Refrigerator Storage: This no-bake cheesecake stays fresh in the refrigerator for up to 5 days when properly covered. Use plastic wrap directly on the surface to prevent a skin from forming, or cover the entire pan with a cake dome. The flavors actually improve after the first day as they meld together.
Freezer-Friendly Options: For longer storage, this cheesecake freezes beautifully for up to 3 months. Wrap individual slices in plastic wrap and store in freezer bags for convenient single servings. Thaw overnight in the refrigerator before serving – never at room temperature, which can cause condensation and soggy texture.
Make-Ahead Strategies: This dessert is perfect for entertaining since it must be made ahead. Prepare up to 3 days in advance, keeping it covered in the refrigerator. Add fresh garnishes just before serving to maintain their vibrant appearance and texture.
Leftover Management: Store leftover slices in airtight containers with parchment paper between layers to prevent sticking. The crust may soften slightly over time, but the filling maintains its creamy consistency throughout the storage period.
Conclusion
This no-bake lemon cheesecake recipe proves that exceptional desserts don’t require exceptional complexity. By mastering these simple techniques – proper cream cheese preparation, gelatin handling, and patient chilling – you’ll create a dessert that rivals any professional bakery creation. The bright, tangy flavors combined with the rich, creamy texture make this cheesecake a guaranteed crowd-pleaser that works for casual family dinners and elegant dinner parties alike.
The beauty of this recipe lies in its versatility and reliability. Whether you’re a novice baker looking to impress or an experienced cook seeking a stress-free dessert option, this no-bake approach delivers consistent results every time. The active preparation time of just 20 minutes means you can have a show-stopping dessert ready with minimal effort, leaving you more time to enjoy with family and friends.
Ready to transform your dessert game? Give this recipe a try and discover why no-bake cheesecakes have become the secret weapon of smart home bakers everywhere. Share your creations and variations in the comments below – I’d love to see how you make this recipe your own!
FAQs
Q: Can I make this cheesecake without gelatin? A: While gelatin provides the best setting power, you can substitute it with agar powder (use 1 teaspoon) or increase the chilling time to 6-8 hours. The texture will be slightly softer, but still delicious. Some bakers successfully use cornstarch (2 tablespoons) mixed with the lemon juice for a different approach.
Q: Why is my cheesecake too soft to slice? A: This usually indicates insufficient chilling time or improper gelatin activation. Ensure you’ve chilled the cheesecake for at least 4 hours, and that your gelatin was properly bloomed and dissolved. If it’s still too soft, return it to the refrigerator for additional chilling time.
Q: Can I use bottled lemon juice instead of fresh? A: While fresh lemon juice provides the best flavor and natural oils from the zest, bottled lemon juice can work in a pinch. However, you’ll miss the bright, complex flavor that fresh lemons provide. If using bottled, add an extra tablespoon of lemon zest to compensate for flavor loss.
Q: How do I prevent cracks in my no-bake cheesecake? A: The beauty of no-bake cheesecakes is that they don’t crack like baked versions! If you notice any surface imperfections, they’re likely from air bubbles. Gently tap your pan on the counter after filling and smooth the surface with an offset spatula.
Q: Can I double this recipe for a larger crowd? A: Absolutely! This recipe doubles beautifully. Use a larger springform pan (10-12 inches) or make two separate cheesecakes. Keep in mind that larger cheesecakes may need additional chilling time to set properly – plan for 6-8 hours for doubled recipes.
Q: What’s the best way to get clean slices? A: Use a sharp knife dipped in warm water and wiped clean between each cut. This prevents the filling from sticking to the blade and ensures professional-looking slices. A thin-bladed knife works better than a thick one for this purpose.


