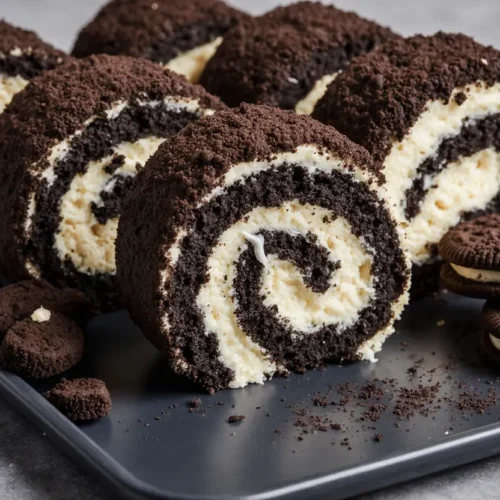
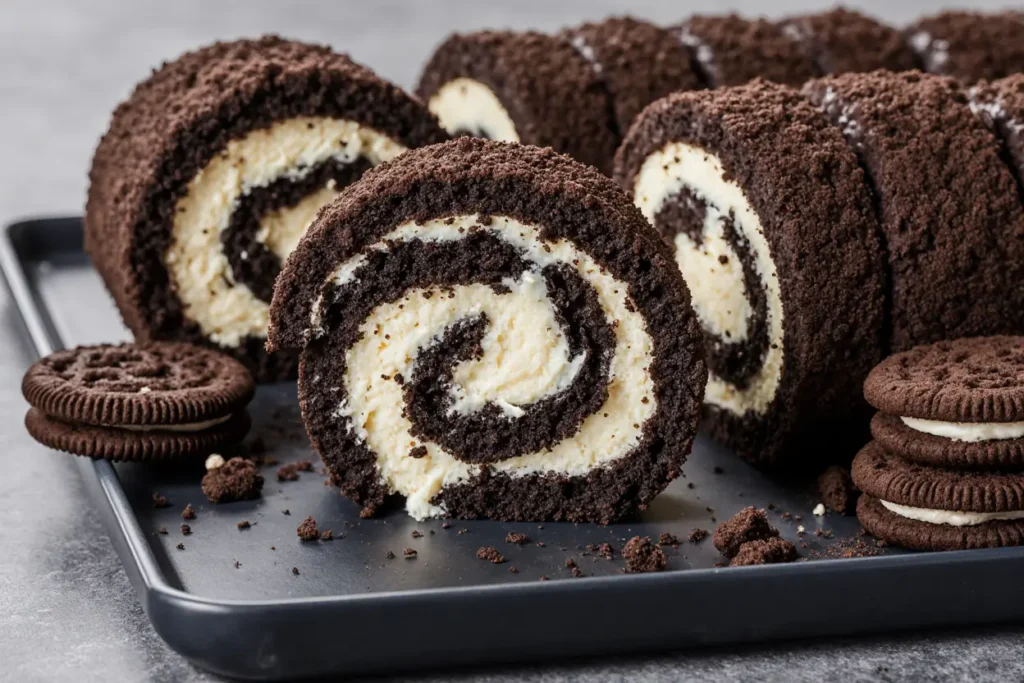
If you’re looking for a dessert that feels elegant, nostalgic, and irresistibly delicious all at once, this Oreo Cookies & Cream Swiss Roll is the answer. With a soft, airy chocolate sponge cake wrapped around a fluffy cookies-and-cream filling, this dessert is as beautiful as it is satisfying. It’s the kind of cake that looks impressive on the table but is surprisingly approachable to make at home.
Swiss rolls have a reputation for being tricky, but this recipe is carefully designed to be beginner-friendly while still delivering bakery-quality results. The sponge is light, flexible, and moist, thanks to whipped eggs and a touch of oil, while the filling is creamy, balanced, and loaded with Oreo flavor without being overly sweet.
Whether you’re baking for a celebration, a family gathering, or simply because you’re craving something chocolatey and cozy, this Oreo Swiss Roll deserves a spot in your recipe collection.
Why You’ll Love This Oreo Cookies & Cream Swiss Roll
This recipe stands out for all the right reasons:
- Soft, flexible sponge cake that rolls without cracking
- Classic cookies & cream flavor everyone loves
- Light and airy texture, not heavy or dense
- Visually stunning, perfect for parties and holidays
- Make-ahead friendly, ideal for stress-free entertaining
It’s a dessert that feels indulgent but not overwhelming—each slice is perfectly balanced between chocolate sponge and creamy filling.
Who This Recipe Is For
This Oreo Cookies & Cream Swiss Roll is perfect for:
- Home bakers who want to try a rolled cake for the first time
- Oreo lovers looking for a more refined dessert
- Anyone who prefers light, whipped-cream-based cakes
- Hosts who want a show-stopping dessert that can be made ahead
- Chocolate fans who don’t want something overly rich
If you enjoy chocolate sponge cakes, cream-filled desserts, or anything cookies-and-cream flavored, this recipe is absolutely for you.

Ingredients Overview
For the Chocolate Sponge Cake
- 4 large eggs (room temperature)
- ½ cup (100 g) sugar
- ⅓ cup (40 g) all-purpose flour
- 3 tablespoons unsweetened cocoa powder
- 1 tablespoon cornstarch (for extra softness)
- ½ teaspoon baking powder
- Pinch of salt
- 2 tablespoons milk
- 2 tablespoons vegetable oil
- ½ teaspoon vanilla extract
For the Cookies & Cream Filling
- ¾ cup (180 ml) heavy whipping cream (chilled)
- 2 tablespoons powdered sugar
- 4 Oreo cookies, finely crushed (without cream)
- 1 teaspoon vanilla extract
These simple ingredients come together to create a dessert that tastes far more complex than it is.
Kitchen Equipment You’ll Need
- 10×15 inch (25×38 cm) jelly roll pan
- Parchment paper
- Mixing bowls
- Electric hand mixer or stand mixer
- Rubber spatula
- Fine mesh sieve (for dry ingredients)
- Clean kitchen towel
- Offset spatula (optional but helpful)
- Plastic wrap
No specialty baking tools required—just standard kitchen equipment.
Step-by-Step Instructions
1. Prepare the Chocolate Sponge
Start by preheating your oven to 170°C / 340°F. Line a 10×15-inch jelly roll pan with parchment paper, making sure it fits snugly into the corners.
In a bowl, whisk together the flour, cocoa powder, cornstarch, baking powder, and salt. Sifting is highly recommended to keep the sponge light and lump-free.
In a separate large bowl, beat the eggs and sugar on high speed for 5–6 minutes, until the mixture becomes pale, thick, and triples in volume. This step is crucial—it’s what gives the sponge its airy structure.
Gently fold the dry ingredients into the egg mixture using a spatula. Work slowly and carefully to avoid deflating the batter.
Add the milk, oil, and vanilla extract, folding just until smooth and evenly combined.
2. Bake and Roll
Pour the batter into the prepared pan and spread it evenly with an offset spatula.
Bake for 10–12 minutes, or until the cake springs back lightly when touched. Do not overbake, as this can cause cracking later.
While the cake is still warm, dust a clean kitchen towel generously with cocoa powder. Carefully flip the cake onto the towel, peel off the parchment paper, and gently roll the cake up with the towel inside. This helps the cake “memorize cake “memorize” its shape.
Let the rolled cake cool completely.
3. Make the Cookies & Cream Filling
In a chilled bowl, whip the heavy cream and powdered sugar until medium peaks form. Be careful not to overwhip.
Add the vanilla extract and finely crushed Oreo cookies, folding gently to keep the filling light and fluffy.
4. Assemble the Swiss Roll
Once the sponge is completely cool, carefully unroll it.
Spread the cookies & cream filling evenly over the cake, leaving about a 1 cm border around the edges to prevent overflow.
Roll the cake back up tightly, this time without the towel.
Wrap the roll in plastic wrap and refrigerate for at least 1 hour to set.
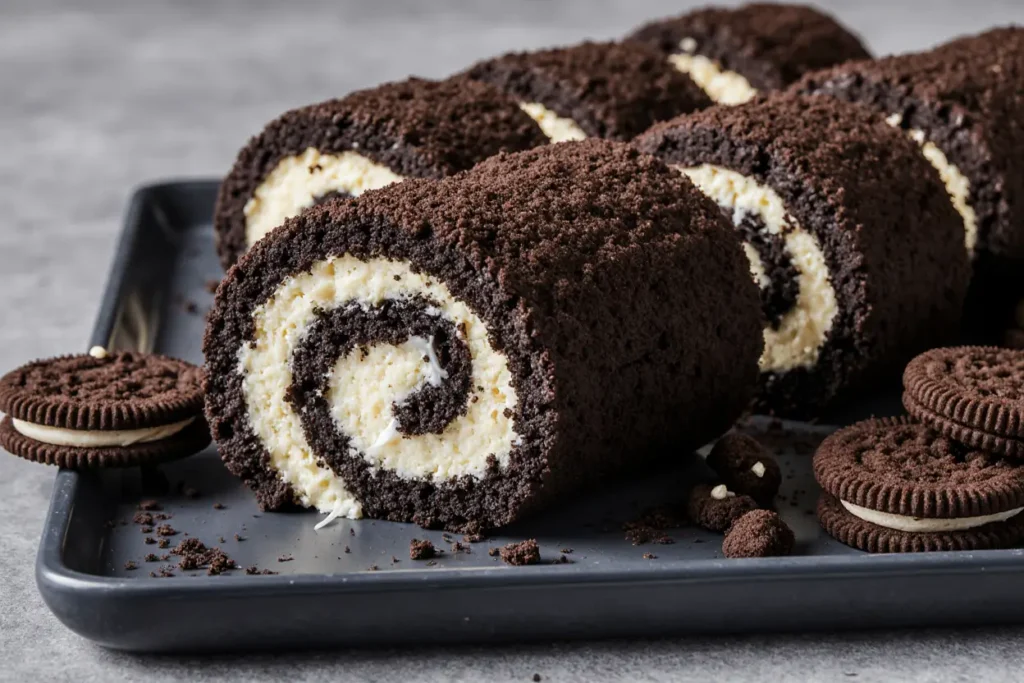
5. Decorate and Serve
Before serving, dust the Swiss roll with powdered sugar or cocoa powder. For an extra-special touch, pipe whipped cream on top and garnish with mini Oreos or crushed cookies.
Slice with a sharp knife and serve chilled.
Pro Tips for a Perfect Swiss Roll
- Room-temperature eggs whip better and create more volume
- Don’t overbake—a dry sponge will crack
- Roll while warm to prevent breaking later
- Chill before slicing for clean, neat pieces
- Use a sharp knife, wiping between cuts
Easy Variations and Swaps
Extra Oreo Flavor
- Add crushed Oreos on top of the filling before rolling
- Mix a bit of Oreo cream into the whipped cream
Lighter Version
- Reduce powdered sugar in the filling
- Use light whipping cream
Chocolate Lover’s Twist
- Drizzle melted chocolate over the finished roll
- Add chocolate chips to the filling
Vanilla Sponge Option
Skip cocoa powder and replace it with extra flour for a vanilla cookies & cream Swiss roll.
Make-Ahead and Storage Tips
Make Ahead
This Swiss roll can be made up to 24 hours in advance, making it perfect for parties and events.
Storage
- Store wrapped tightly in the refrigerator for up to 3 days
- Keep away from strong-smelling foods to preserve flavor
Freezing
You can freeze the undecorated Swiss roll for up to 1 month. Thaw overnight in the refrigerator and decorate before serving.
Serving Suggestions and Pairings
This Oreo Cookies & Cream Swiss Roll pairs beautifully with:
- Hot coffee or espresso
- A cold glass of milk
- Vanilla or cookies & cream ice cream
- Fresh berries for contrast
It works wonderfully as a birthday cake alternative, holiday dessert, or elegant afternoon treat.
Frequently Asked Questions
Why did my cake crack?
Cracking usually happens if the cake is overbaked or not rolled while warm. Timing is key.
Can I use store-bought whipped topping?
Yes, but homemade whipped cream offers better flavor and texture.
Do I need to remove the Oreo cream?
Removing the cream helps keep the filling stable and prevents excess sweetness.
Can I make this without an electric mixer?
It’s possible, but whipping eggs to full volume by hand is very difficult. A mixer is strongly recommended.
Can I double the recipe?
Yes, but bake in batches to ensure even baking.
Final Thoughts
This Oreo Cookies & Cream Swiss Roll is proof that elegant desserts don’t have to be complicated. With its soft chocolate sponge, fluffy Oreo-studded filling, and beautiful presentation, it’s a recipe that never fails to impress.
Whether you’re baking for a special occasion or simply indulging your love for cookies and cream, this Swiss roll delivers on flavor, texture, and visual appeal.
If you enjoyed this recipe, please share it with friends and family, and don’t forget to subscribe to the blog for more delicious, reliable, and inspiring dessert recipes. Happy baking!