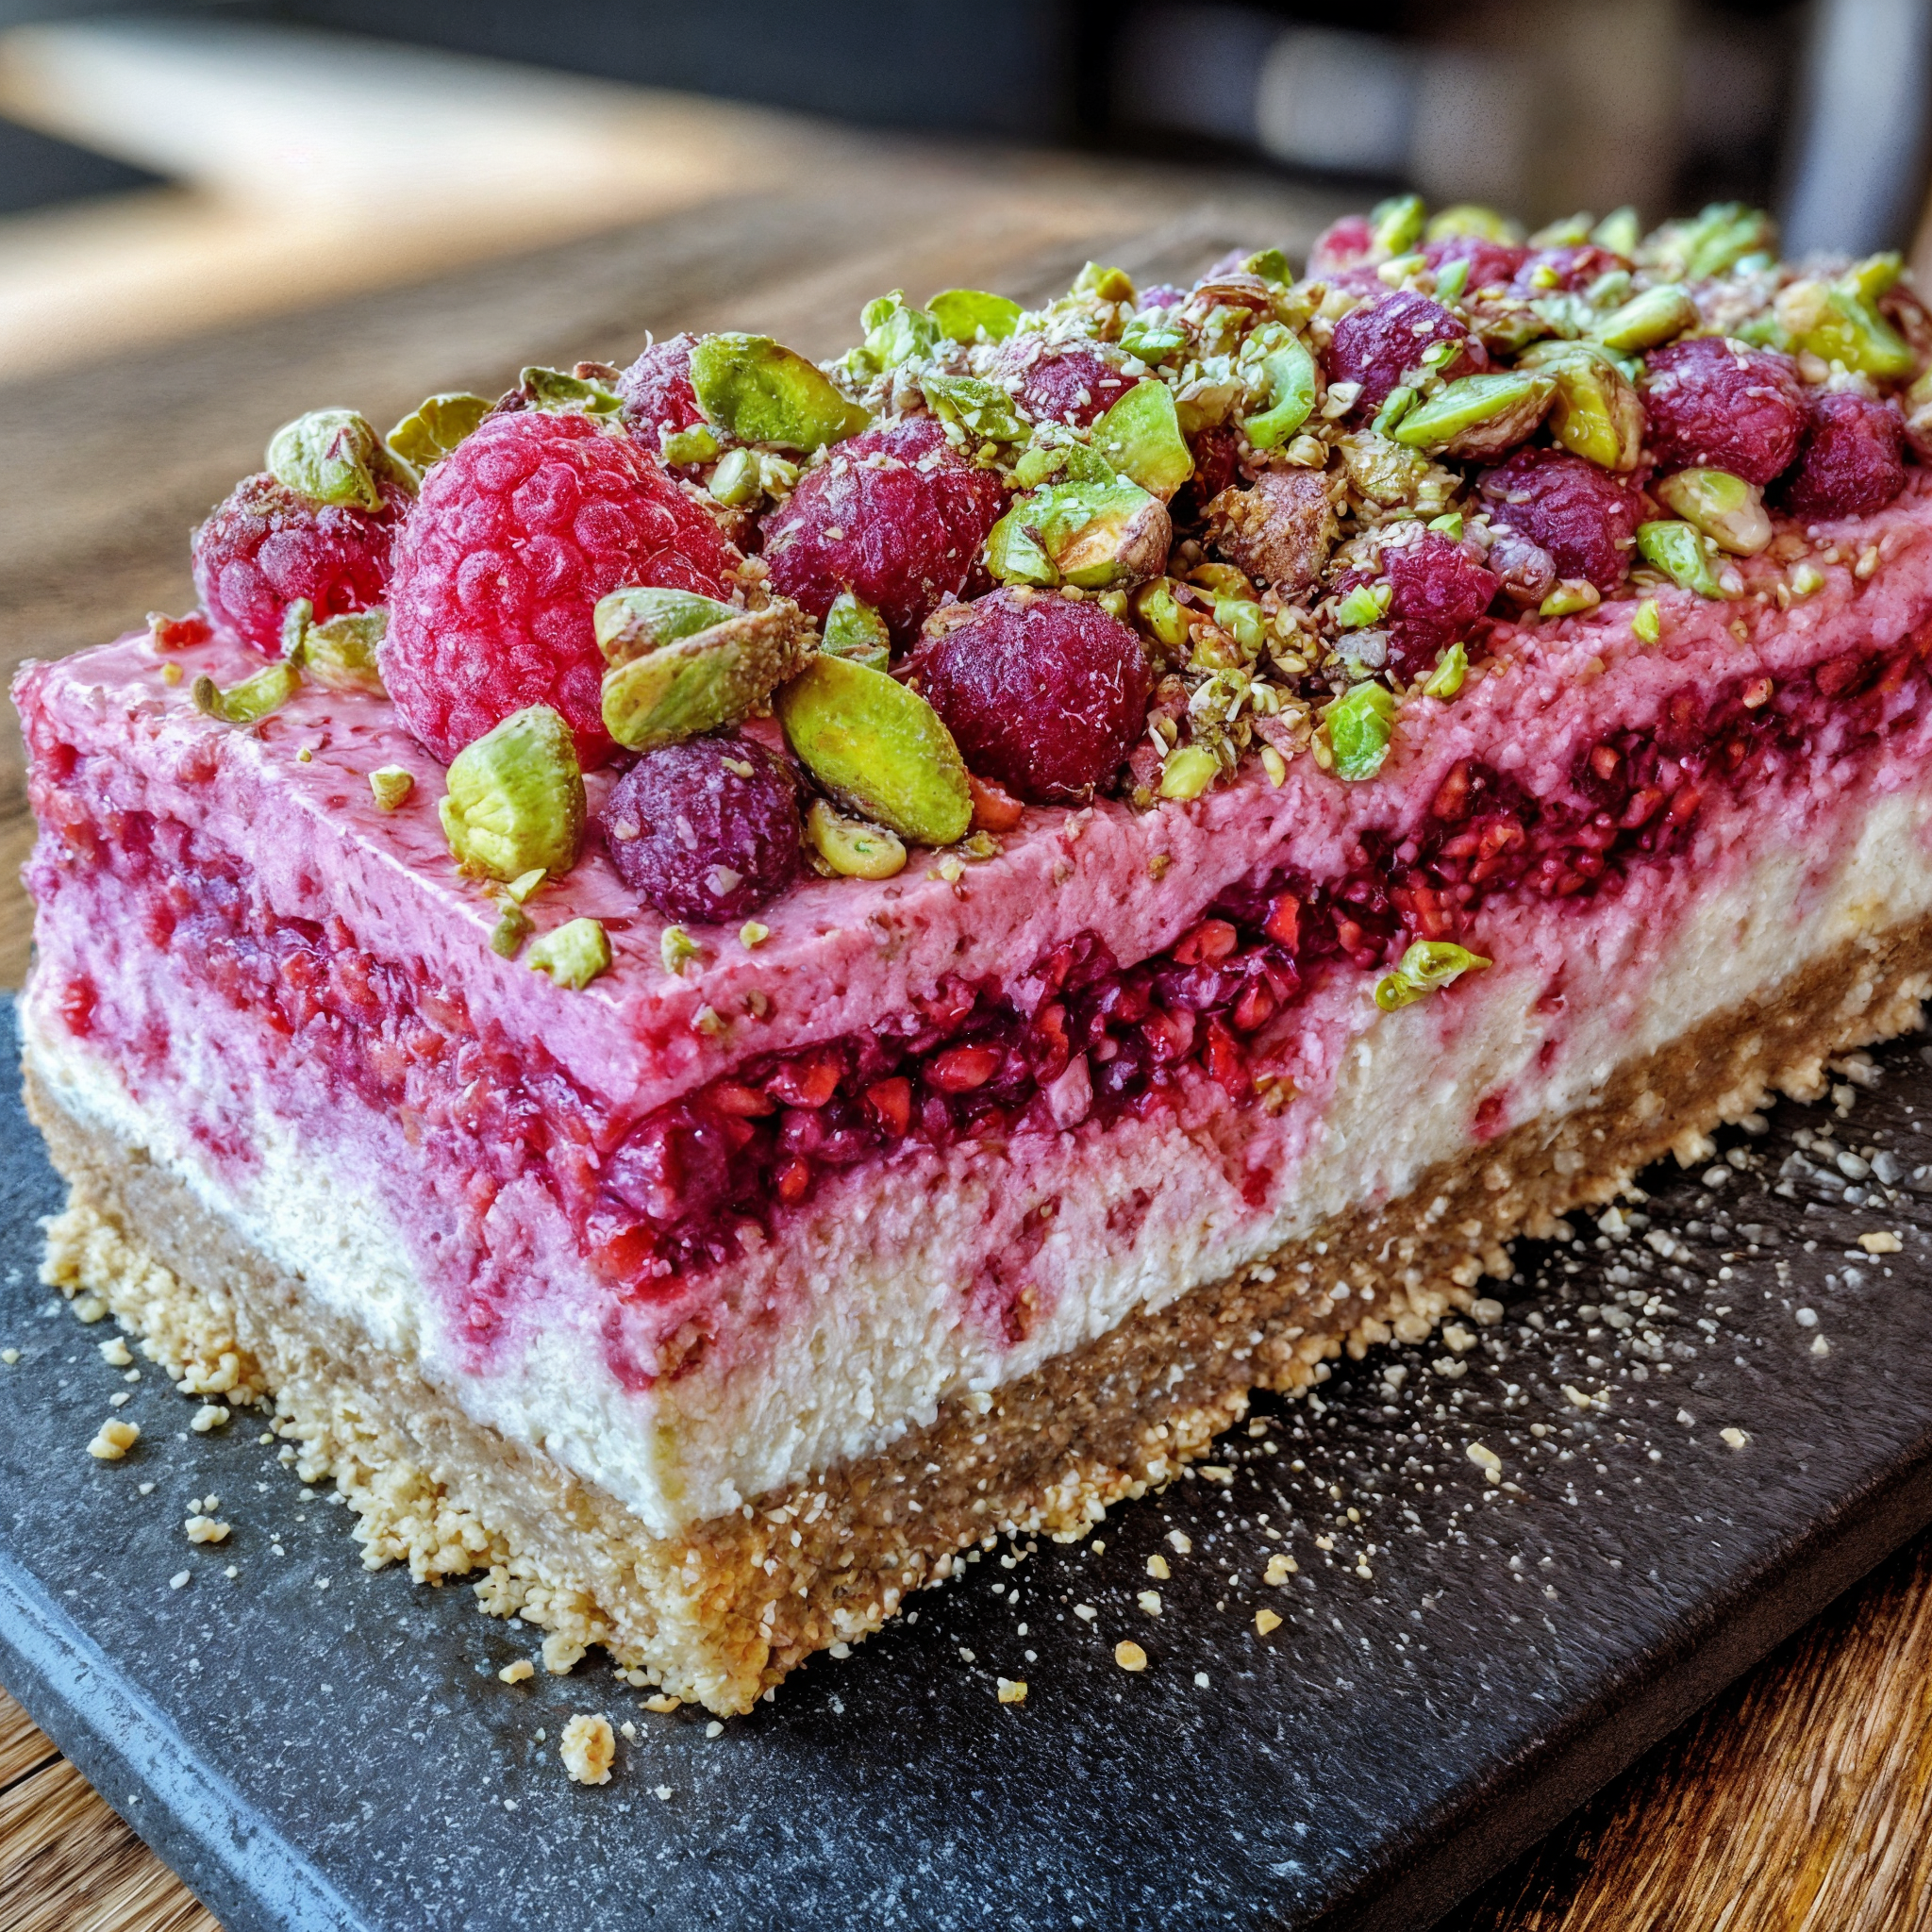
Pistachio & Raspberry Cheesecake Domes Recipe
If you’re looking for a dessert that’s as stunning as it is delicious, these Pistachio & Raspberry Cheesecake Domes are your new show-stopping favorite. With their elegant shape, creamy pistachio filling, and bright raspberry core, these no-bake cheesecake domes are the perfect treat for impressing guests or simply indulging in a luxurious bite-sized dessert.
With layers of flavor and texture—from the smooth pistachio cheesecake to the tangy fruit center and buttery graham base—these domes deliver a refined twist on traditional cheesecake, wrapped in an irresistibly modern presentation.
Why You’ll Love This Recipe
These domes are:
- Visually striking – Ideal for dinner parties, holidays, or gifting
- No-bake and easy to prep ahead – Minimal oven time, maximum wow factor
- Balanced in flavor – Rich pistachio meets tart raspberry for the ultimate combo
- Customizable – Swap the fruit, play with toppings, or add your own creative twist
Who Is This Recipe For?
This recipe is perfect for:
- Home bakers looking to explore refined desserts without the complexity of baking
- Fans of pistachio and berry desserts
- Anyone hosting a gathering who wants a memorable dessert that’s deceptively easy to make
- No-bake dessert lovers who appreciate chilled treats with layers of texture
Ingredients You’ll Need
For the Pistachio Cheesecake Layer:
- 8 oz cream cheese, softened
- ⅓ cup powdered sugar
- ¼ cup pistachio paste or finely ground pistachios
- ¼ cup heavy cream
- 1 tsp vanilla extract
For the Raspberry Center:
- 1 cup fresh raspberries
- 1 tbsp honey or maple syrup
- 1 tsp lemon juice
For the Base:
- ½ cup graham cracker crumbs
- 2 tbsp unsalted butter, melted
Optional Garnish:
- Crushed pistachios
- Freeze-dried raspberries
- White chocolate drizzle
Equipment Needed
To achieve that elegant dome shape and silky texture, you’ll need a few kitchen tools:
- Silicone dome molds (silicone is key for easy release)
- Hand or stand mixer
- Mixing bowls
- Small saucepan
- Fine mesh sieve (optional, for raspberry purée)
- Spoon or offset spatula
- Freezer space
Step-by-Step Instructions
1. Make the Raspberry Center
In a small saucepan, combine raspberries, honey (or maple syrup), and lemon juice. Cook over medium heat for 5–7 minutes, until the raspberries break down into a thick purée.
Optional: Strain through a fine mesh sieve to remove seeds for a smoother center.
Spoon the purée into small molds or an ice cube tray—each should be about 1 teaspoon to fit inside the domes. Freeze until solid (about 1 hour or more).
2. Prepare the Pistachio Cheesecake Layer
In a mixing bowl, beat the softened cream cheese until smooth and creamy. Add the powdered sugar, pistachio paste (or finely ground pistachios), heavy cream, and vanilla extract. Continue beating until light and fluffy.
3. Assemble the Domes
Spoon the pistachio cheesecake mixture halfway into each silicone mold. Press a frozen raspberry purée center into each, then cover with more pistachio mixture, smoothing the tops flat with a spatula or spoon.
4. Make and Add the Base
In a small bowl, mix the graham cracker crumbs with the melted butter until combined. Press a thin, even layer onto the back of each filled dome to form the base.
5. Freeze Until Set
Place the molds in the freezer and chill for at least 4 hours, or overnight, until fully firm and set.
6. Unmold and Garnish
Carefully pop the domes out of the silicone molds. Garnish with your choice of crushed pistachios, freeze-dried raspberries, or a drizzle of melted white chocolate for an elegant finish.
Tips & Variations
✅ Make Ahead Friendly
These cheesecake domes can be frozen for up to a week. Just add garnish right before serving to maintain freshness.
✅ No Pistachio Paste?
No problem! Use finely ground pistachios blended with a teaspoon of honey or cream to mimic the texture and flavor.
✅ Try Different Fruit Centers
Substitute the raspberries with strawberries, blueberries, or a passion fruit coulis for fun flavor variations.
✅ Chocolate Crust Option
Swap graham cracker crumbs for crushed chocolate cookies for a deeper flavor contrast.
How to Store Cheesecake Domes
Freezer (recommended):
Store domes in an airtight container for up to 7 days. Serve directly from the freezer or let them thaw for 10–15 minutes for a creamier bite.
Refrigerator (short-term):
If you plan to serve the domes within a day, refrigerate them in a sealed container. Keep chilled until ready to serve.
What to Serve With These Domes
Pair these elegant domes with:
- Espresso or cappuccino – The bitterness of coffee balances the sweetness beautifully.
- Sparkling wine or champagne – For an extra festive touch.
- Mint tea or green tea – Light and refreshing to cleanse the palate.
These are ideal for tea parties, bridal showers, or as a plated dessert at a dinner party.
Frequently Asked Questions (FAQ)
Can I use frozen raspberries instead of fresh?
Yes! Just thaw and drain them before cooking down into the purée.
What if I don’t have silicone molds?
You can try using mini muffin tins lined with plastic wrap, but silicone molds offer the easiest release and the most polished finish.
Can I make these nut-free?
Swap pistachios with sunflower seed butter or a nut-free cookie crust. The texture will change slightly, but it’s still delicious.
Can I serve these as mini cakes without freezing?
They need time to set, so freezing is essential for that perfect dome shape and firm texture.
Final Thoughts
These Pistachio & Raspberry Cheesecake Domes are the ultimate dessert for when you want to make something special without turning on the oven. Elegant, refreshing, and deeply satisfying, they combine the luxurious creaminess of cheesecake with a vibrant fruit surprise at the center.
Whether you’re hosting an upscale soirée or just craving something a little fancy, these domes are guaranteed to impress.
Let’s Stay in Touch!
Did you try this recipe? We’d love to hear how it turned out! Share this post with your fellow dessert lovers and don’t forget to subscribe to the blog for more elegant recipes, baking tips, and inspiring ideas straight to your inbox.
Stay sweet and creative—until next time! 💚💗